RSK Quick Start Guide | Using RSK in the Browser
As RSK is a blockchain with smart contract capabilities, it is possible to build decentralised applications (dApps) with it. Most dApps are web applications that you access with a regular Internet browser, such as Chrome. However, the blockchain interactions require some additional software, which comes in the form of browser extensions. These browser extensions insert a web3 provider object, with the Javascript parts of the web application used to interact with the blockchain, forming an integral part of dApp architecture.
Note that these browser extensions store your private keys, and use them to sign transactions. So keep them secure.
There are currently two well known browser extensions that you can use to interact with the RSK blockchain: MetaMask, and Liquality. Since this is a quick start, we will not go through all of them - just MetaMask.
Install Metamask
MetaMask is the most popular browser extension with web3 provider capabilities. It enables users to buy, store, send and swap tokens.
Metamask also equips you with a key vault, secure login, token wallet, and token exchange—everything you need to manage your digital assets.
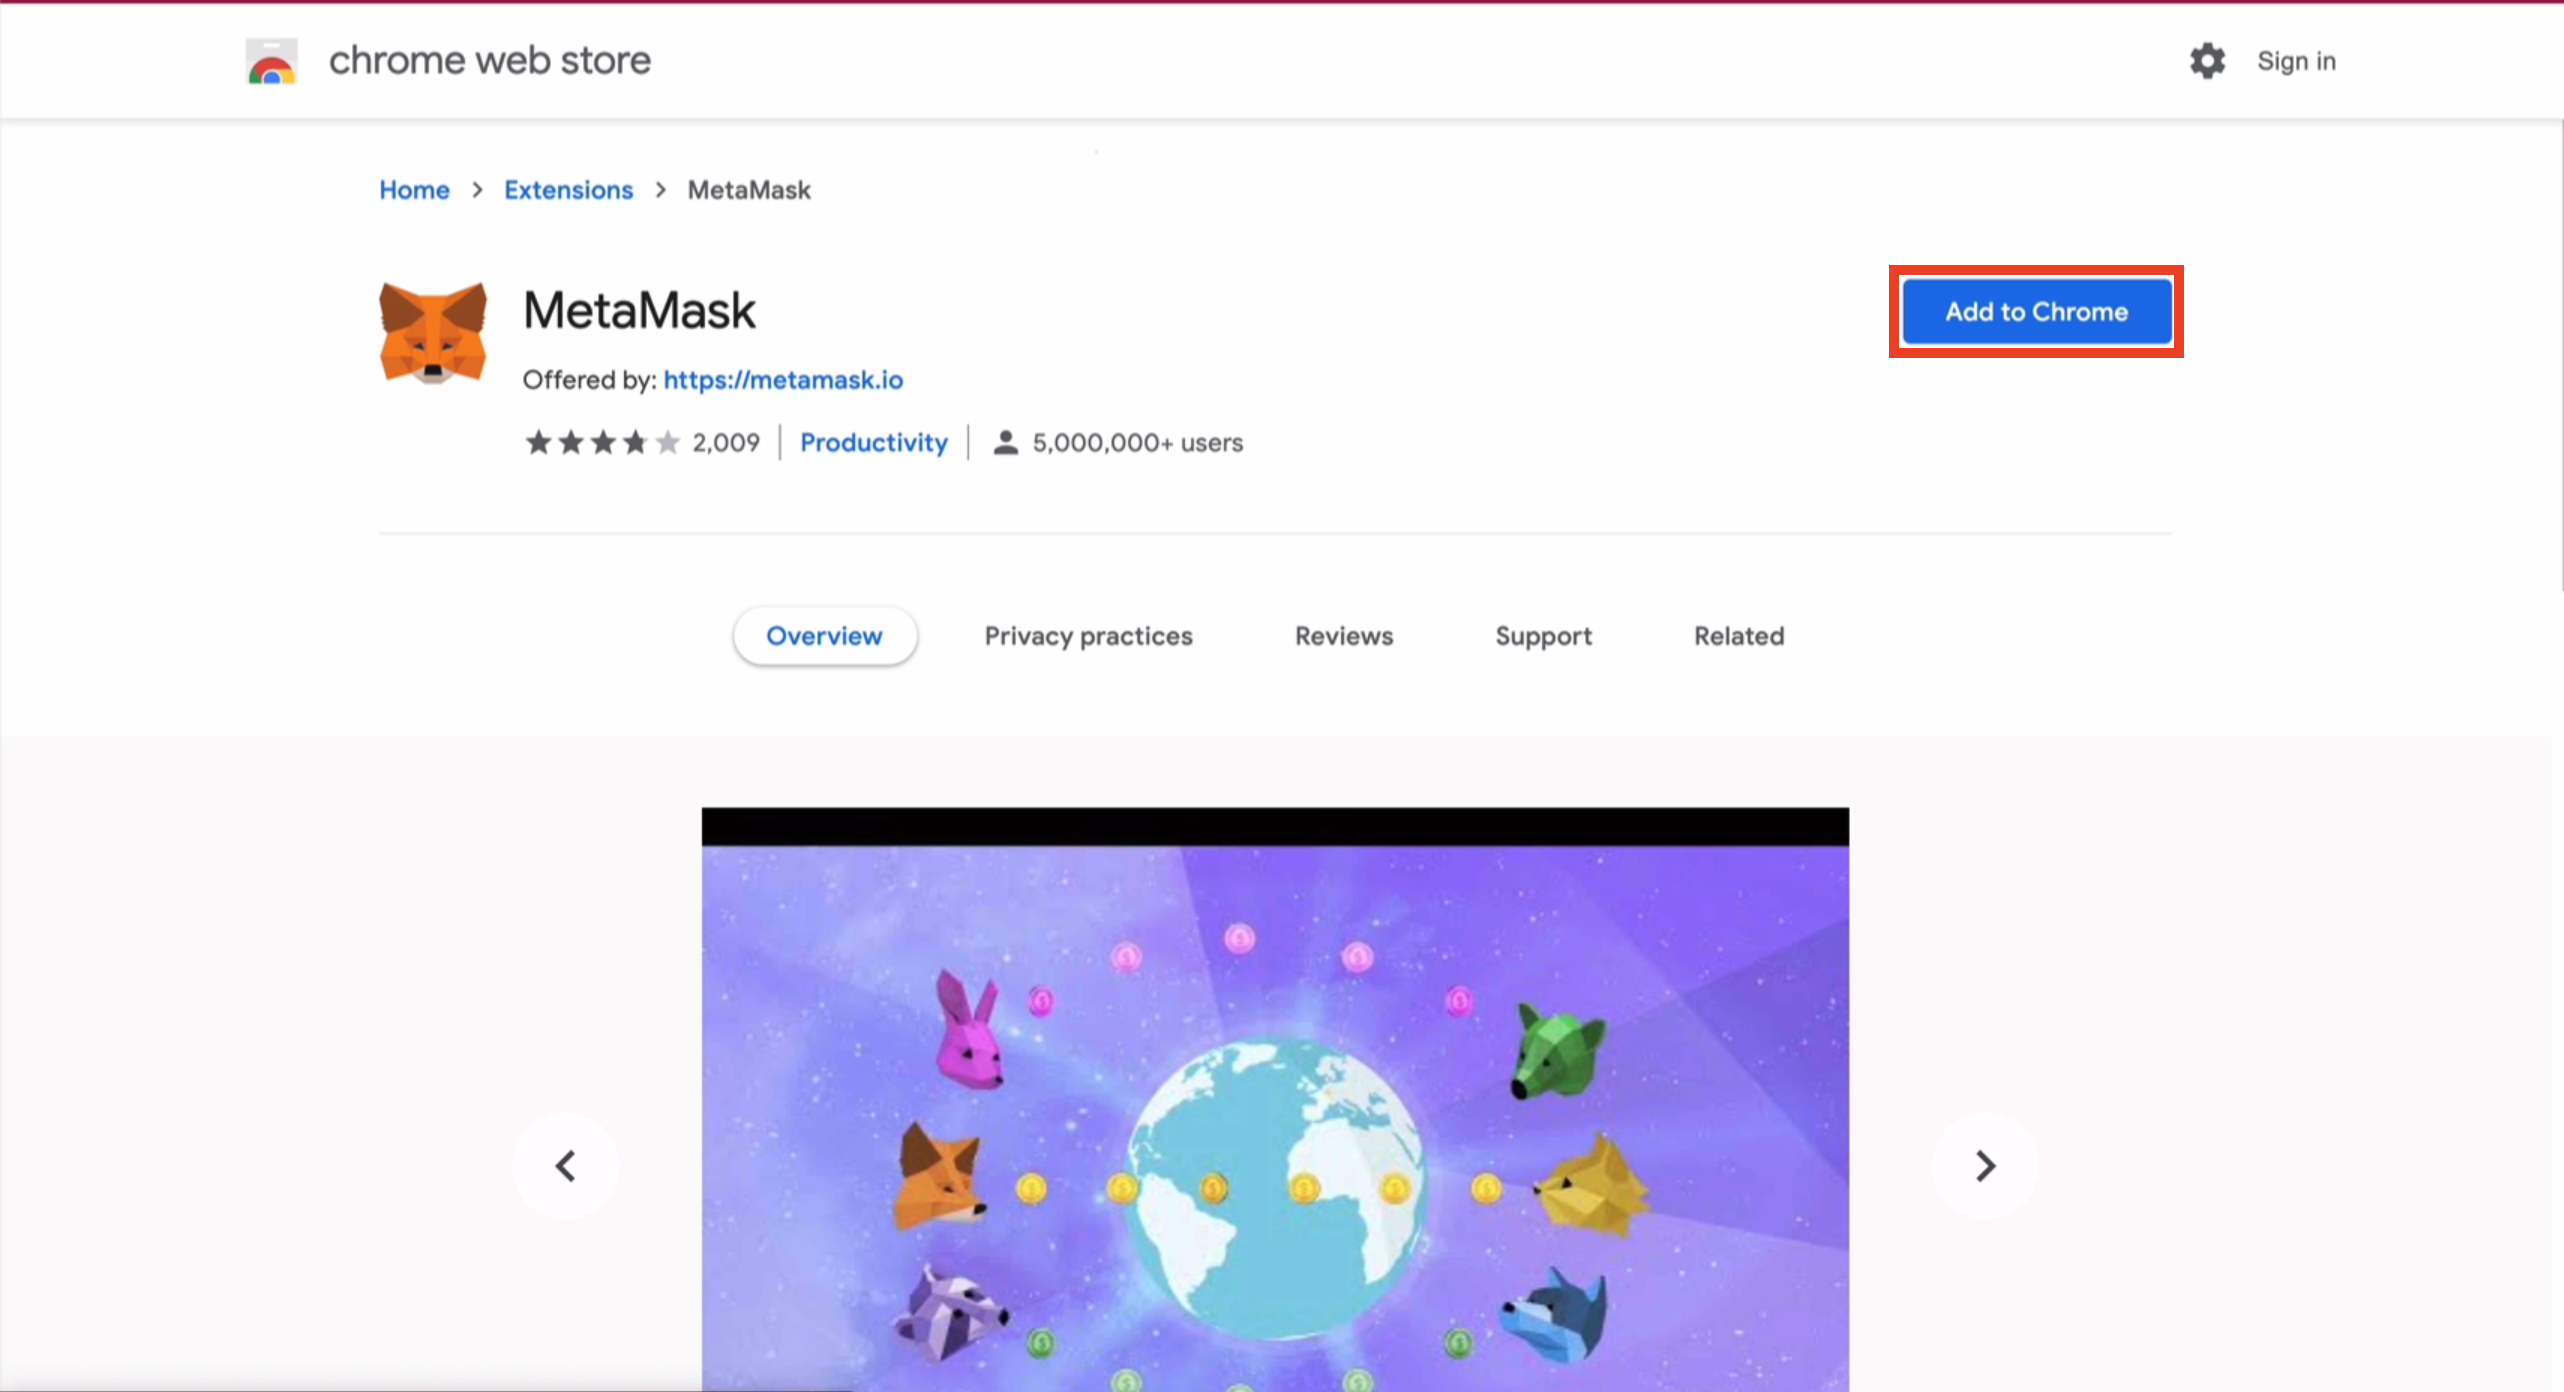
Open up Chrome browser, and install the extension from the Chrome store.
This short video demonstrates how to download and install MetaMask on your browser, and also how to create a wallet to store your crypto assets.
Steps
1- Visit https://metamask.io
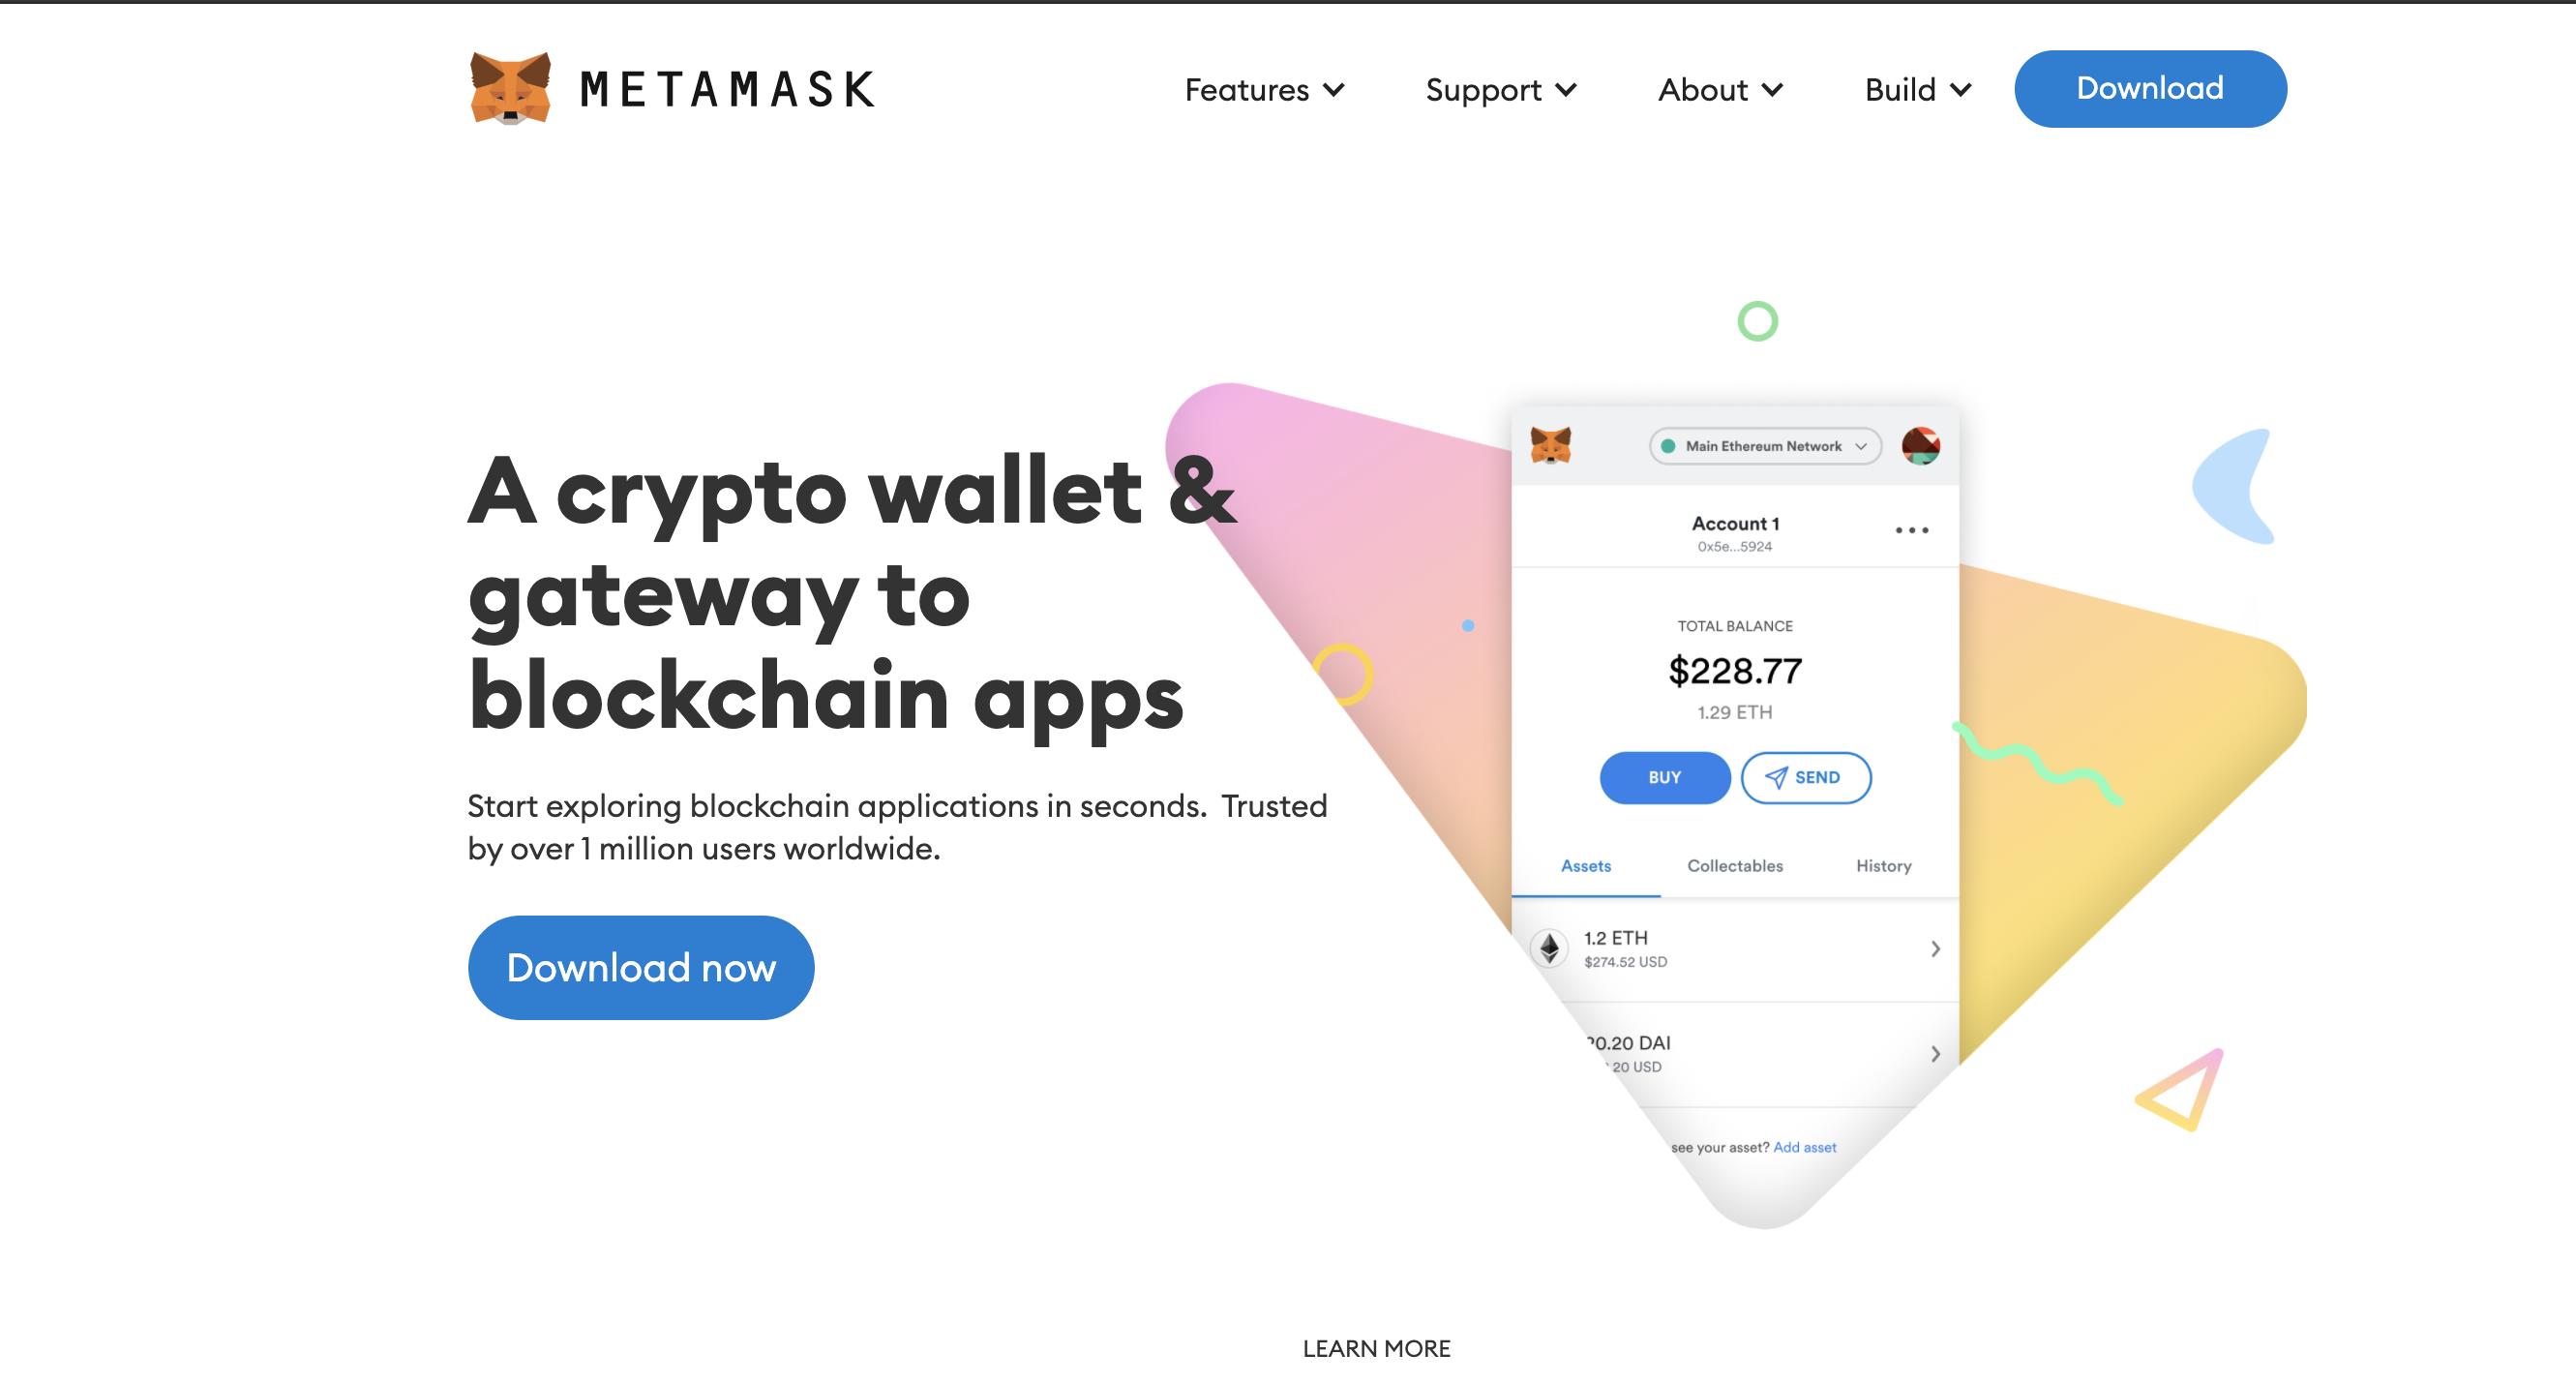
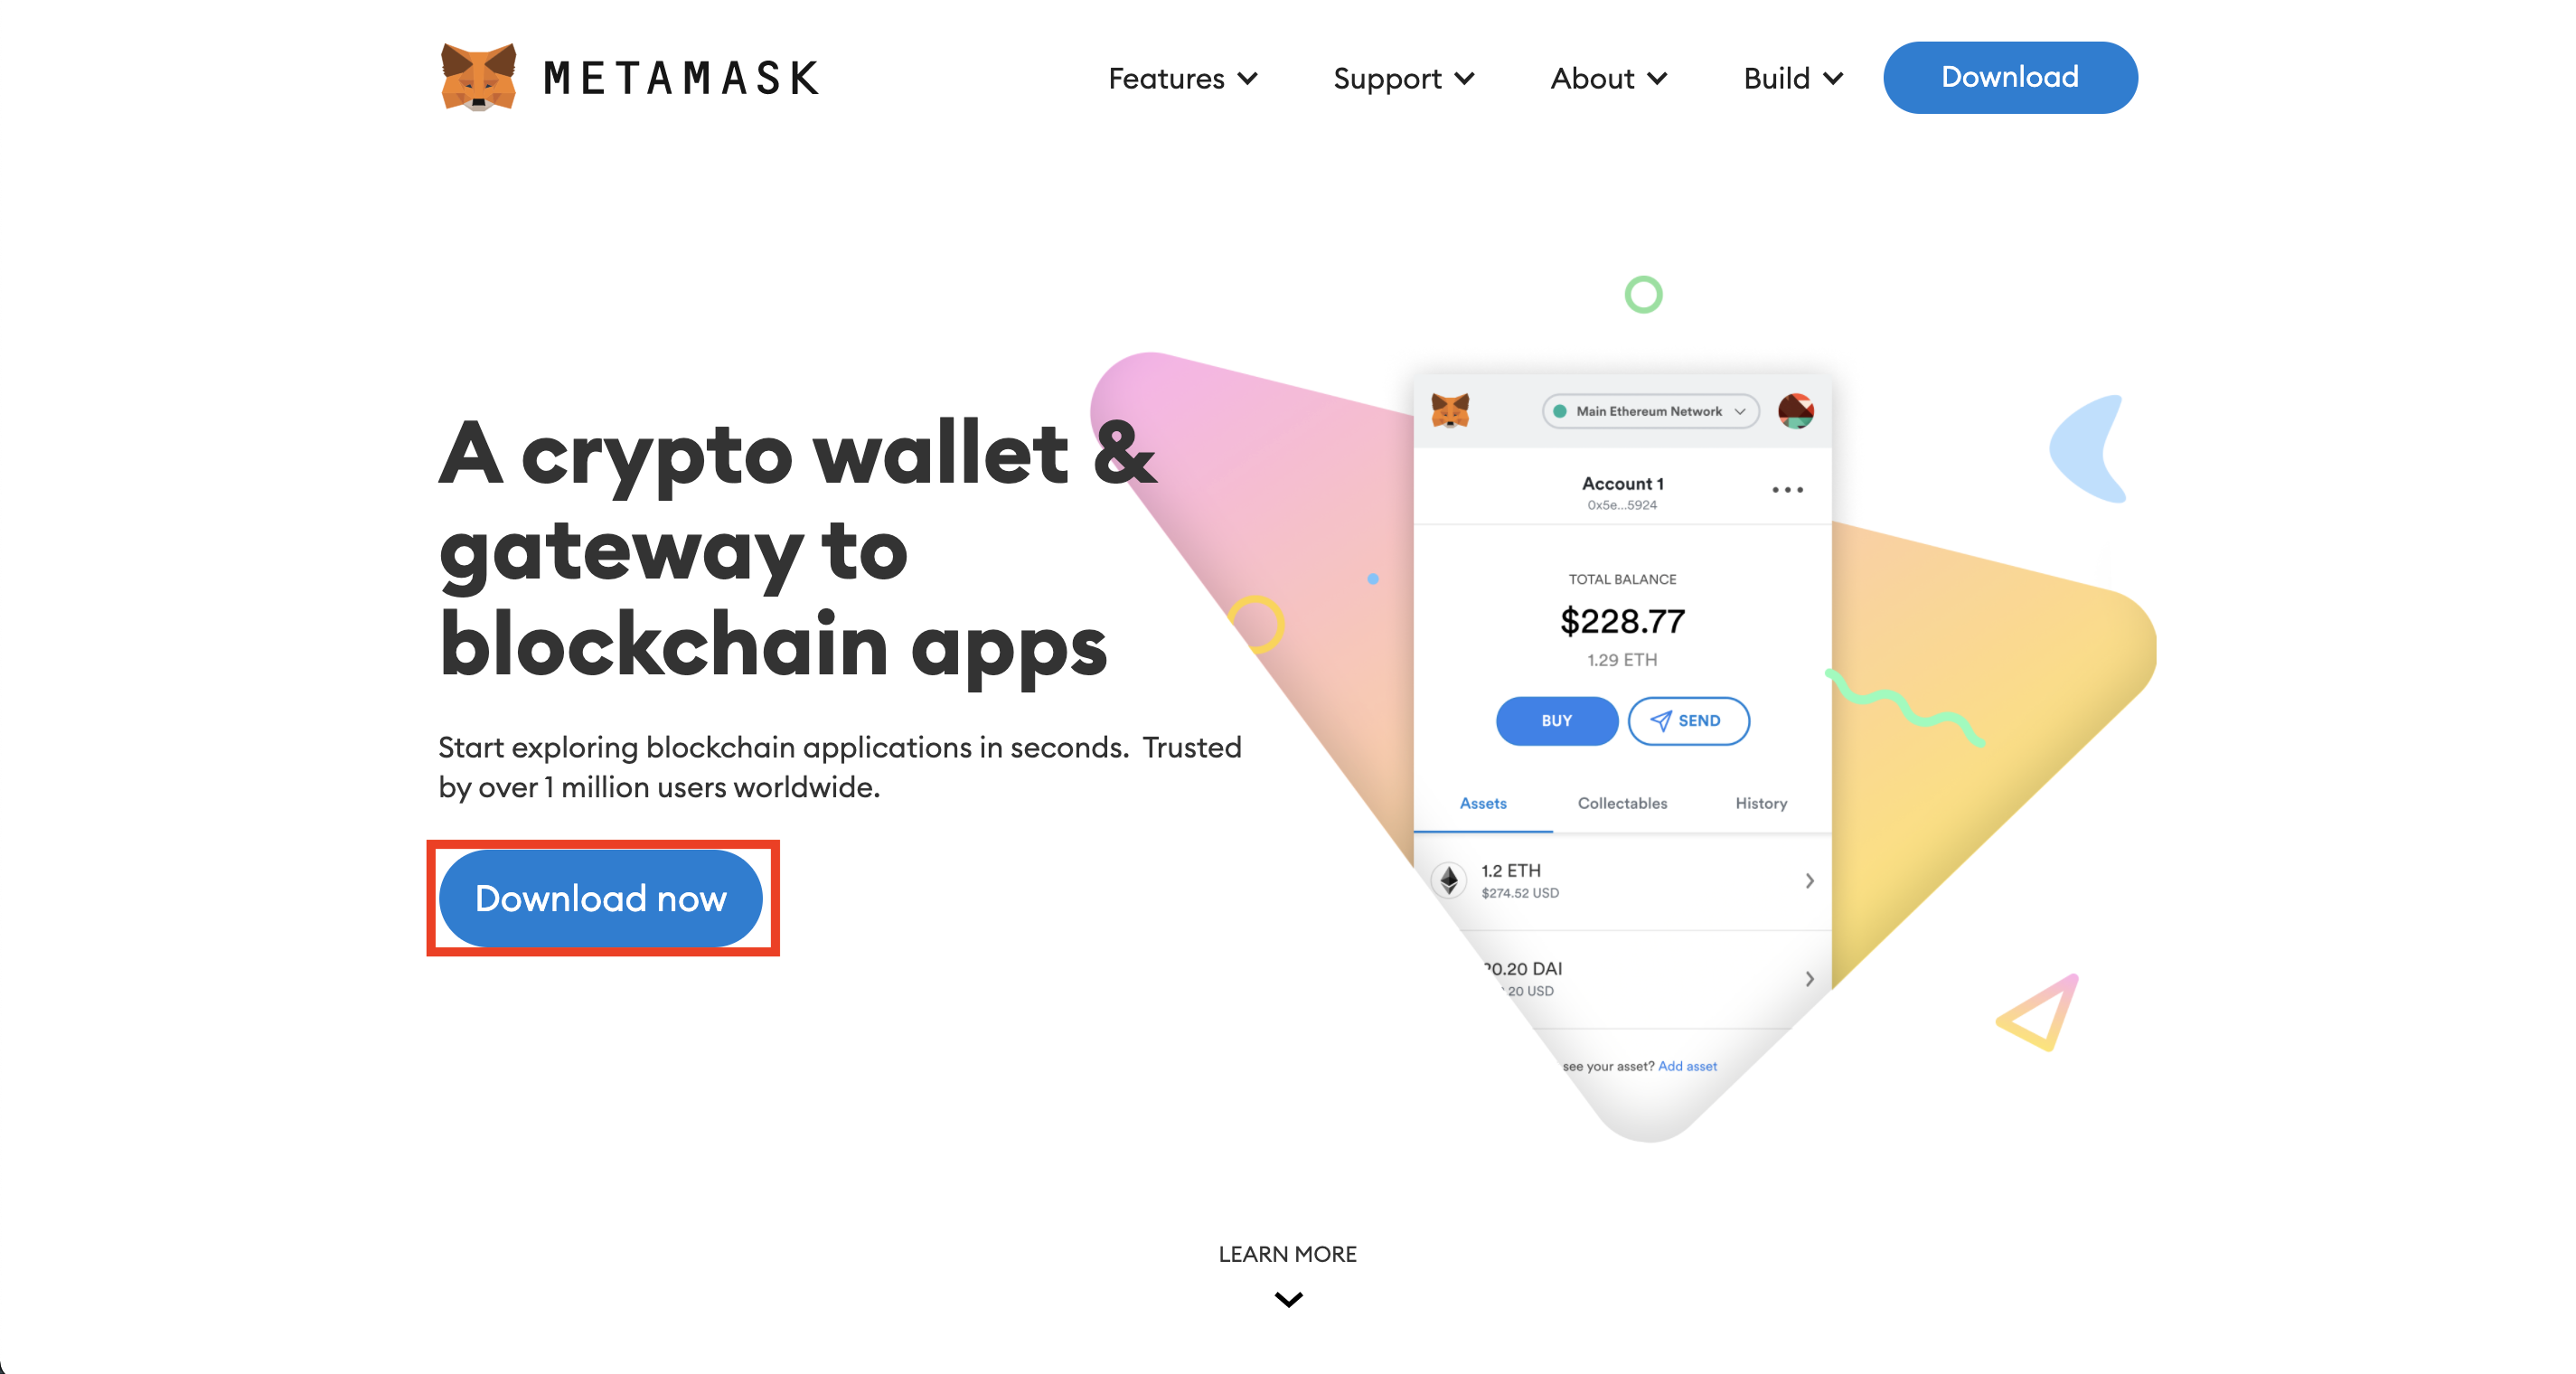
2- Click on Download now
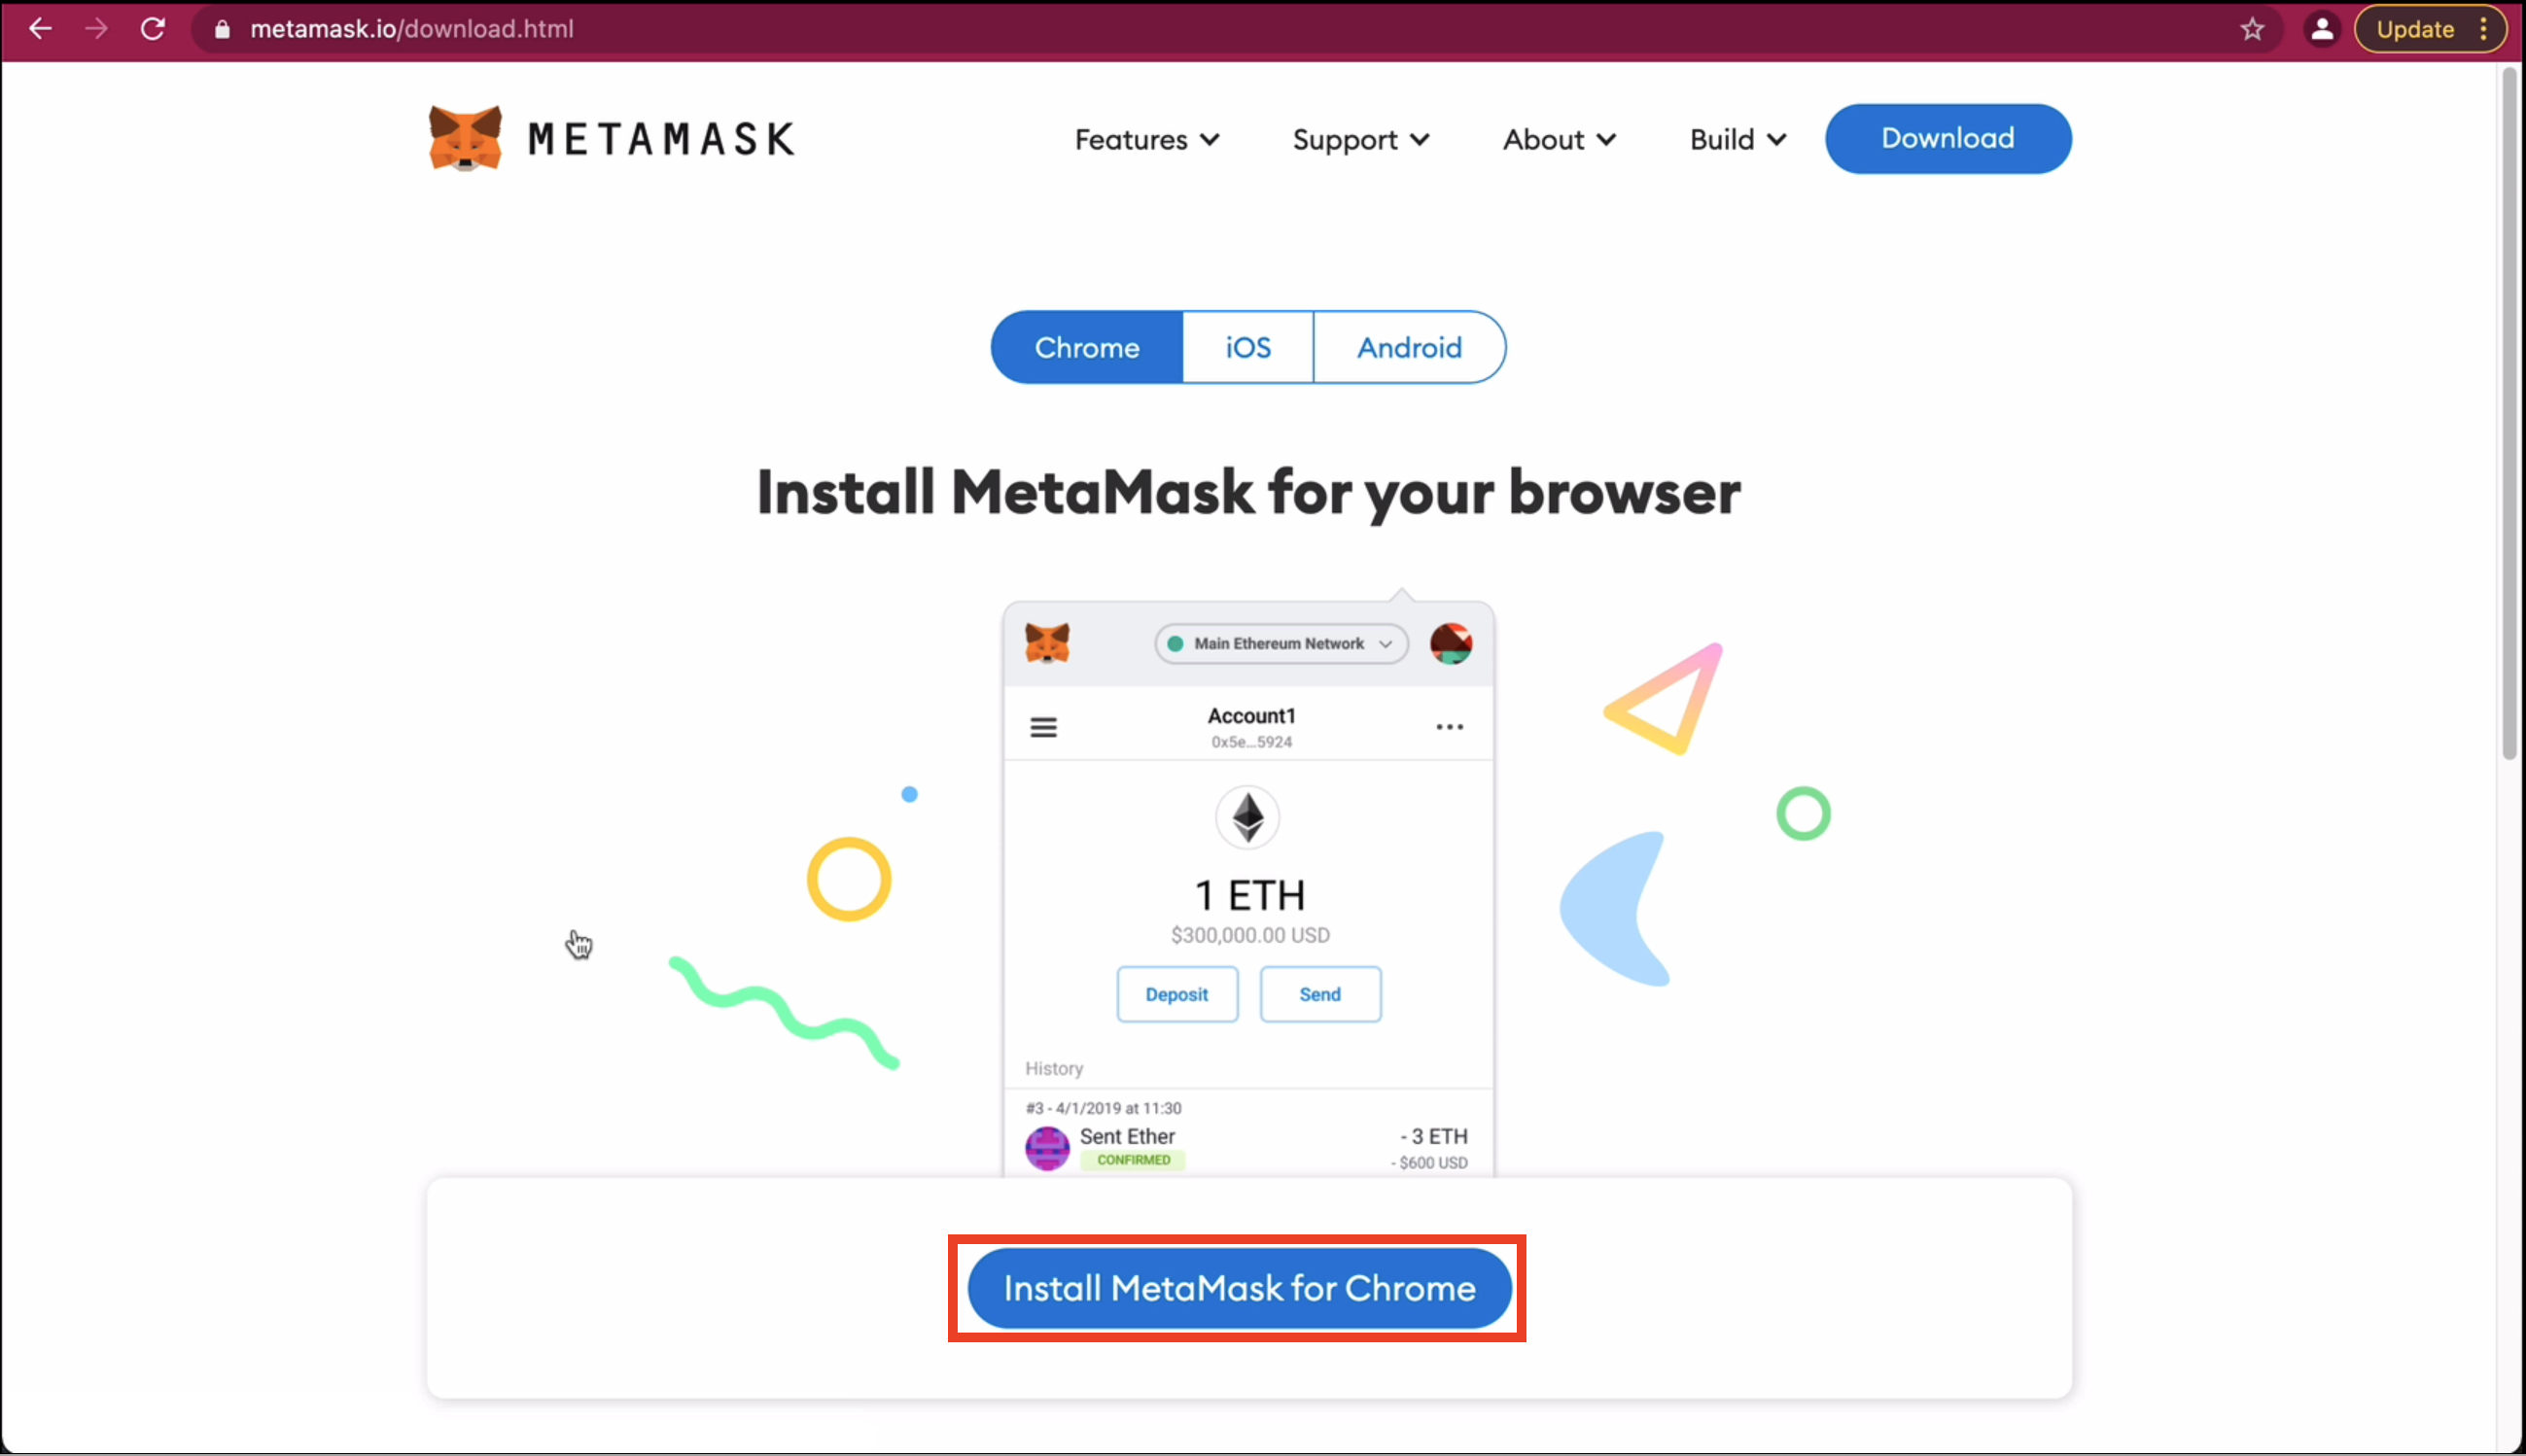
3- Click on install Metamask for Chrome
Note: You can install MetaMask on any browser of your choice
4- Click on the Add to Chrome button
5- Add Metamask Extension
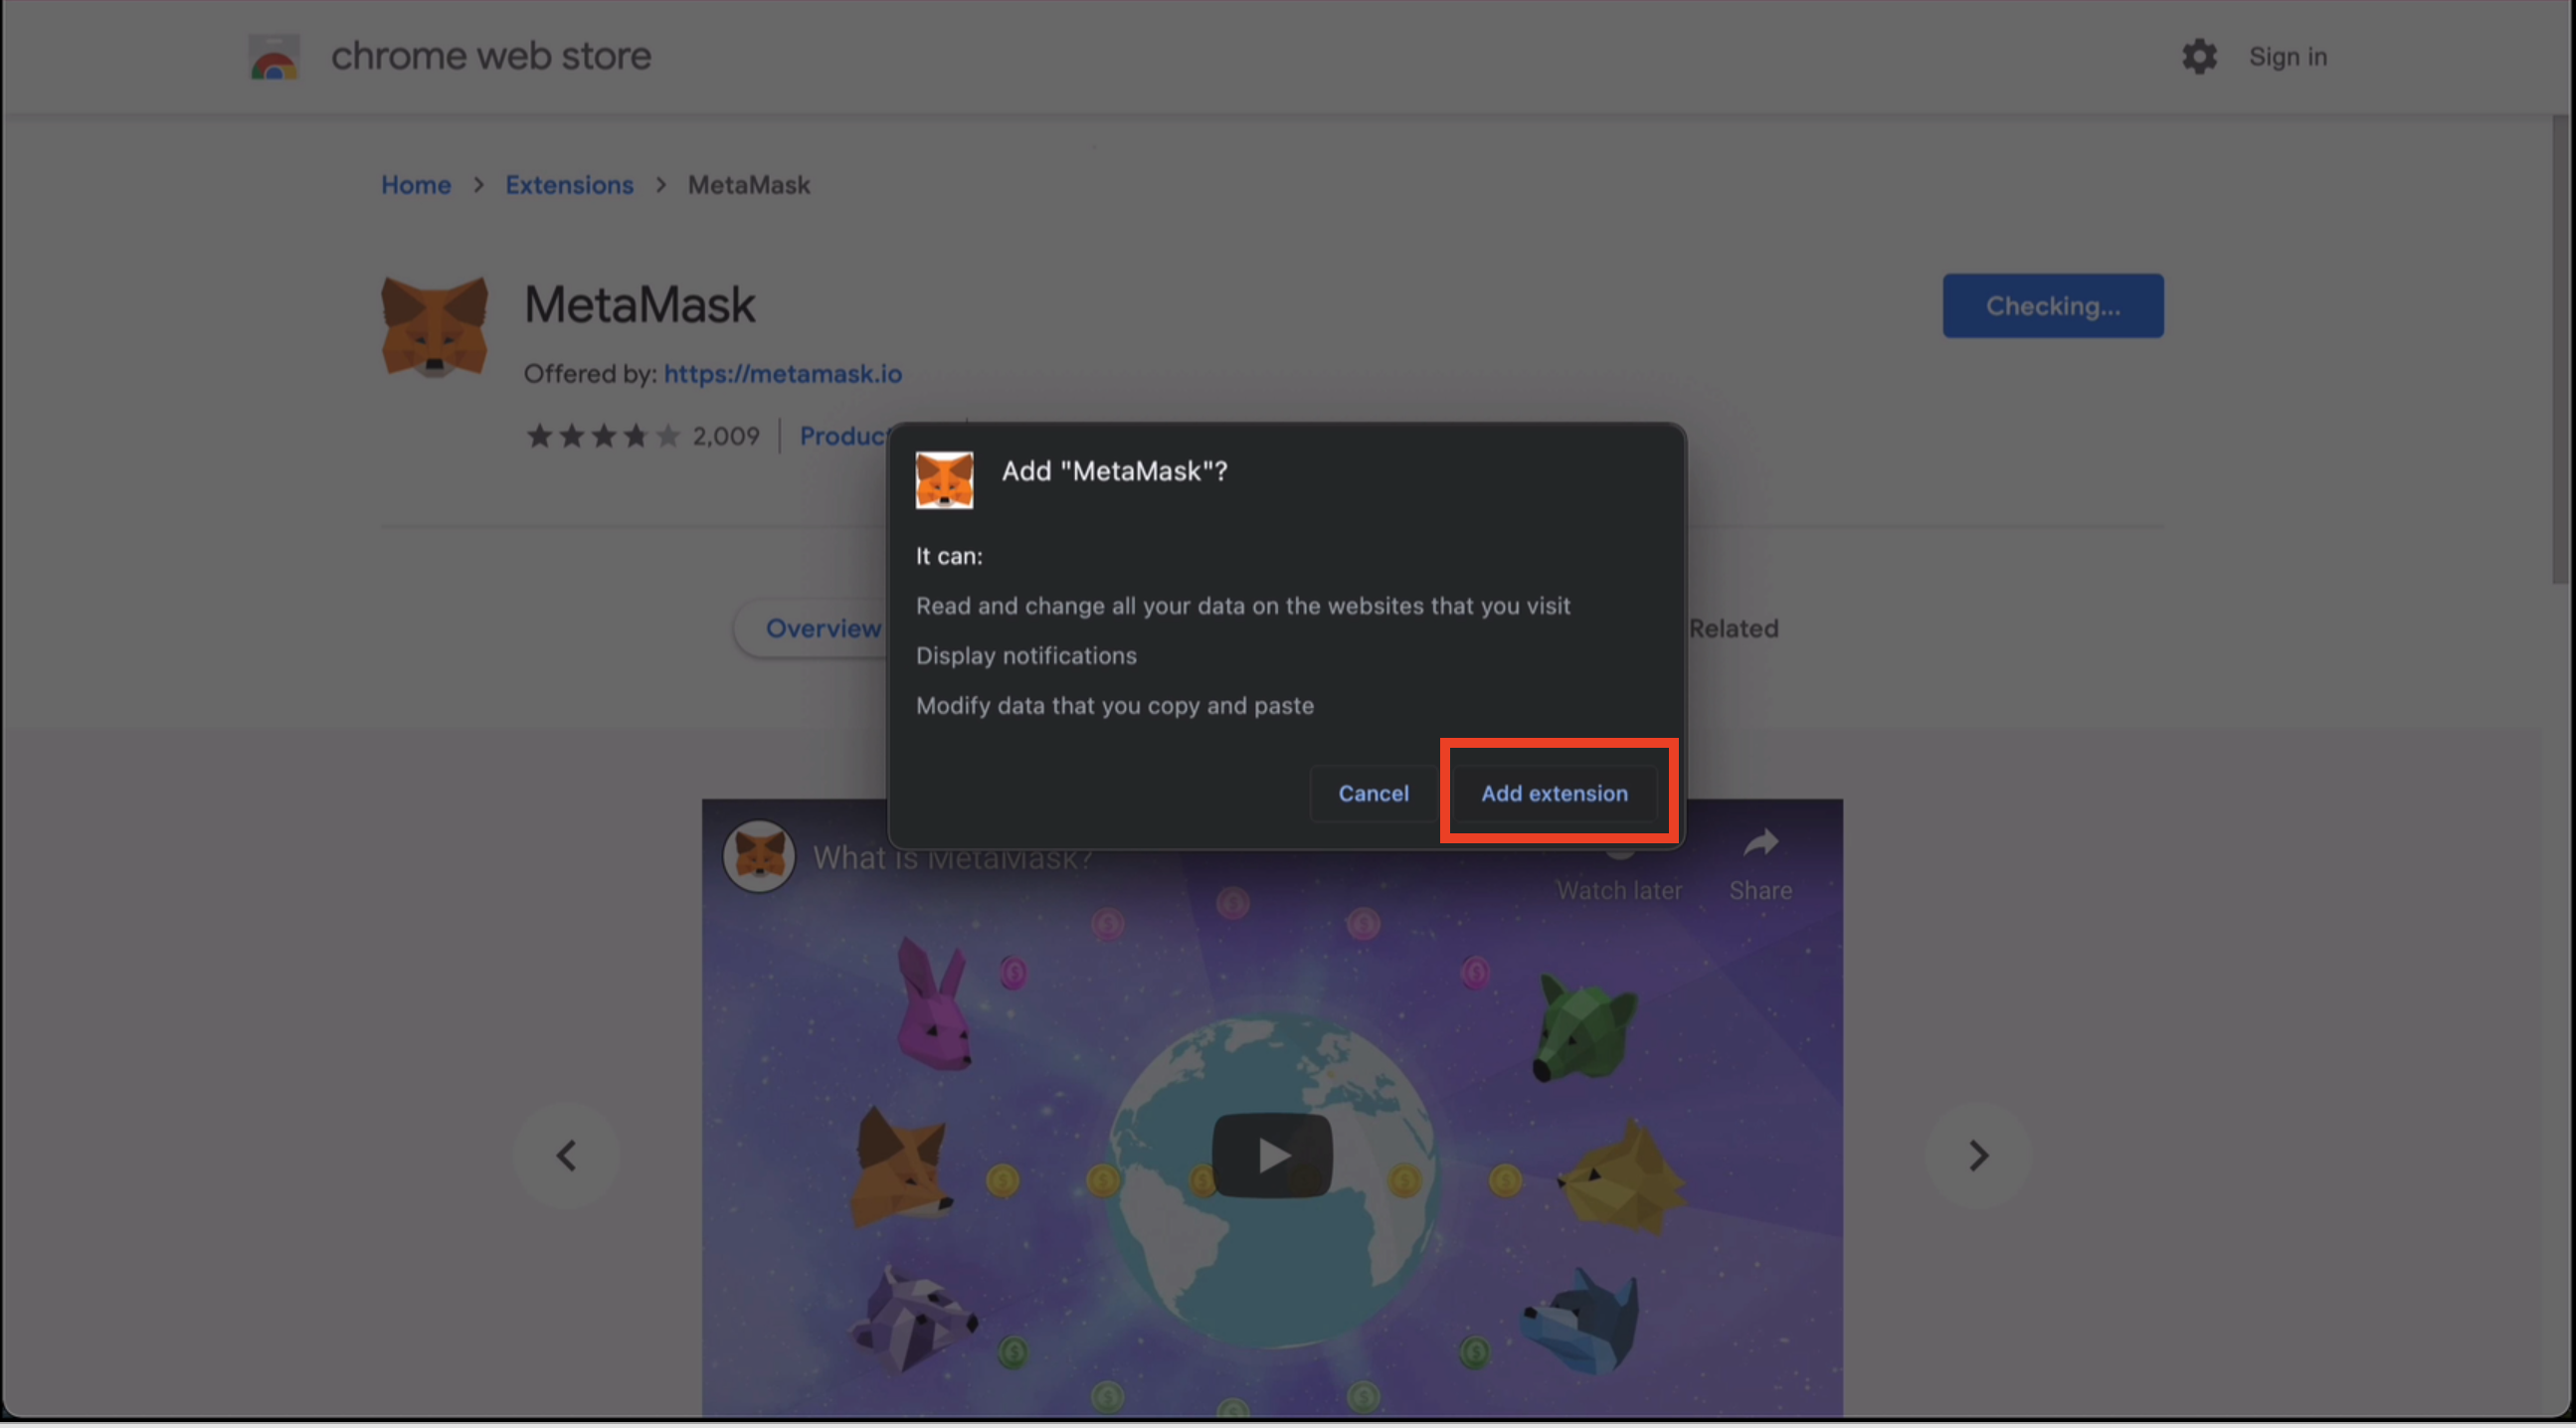
6- View Metamask in the extension tab
![]()
7- Click Get Started Button
8- Click on Create a Wallet
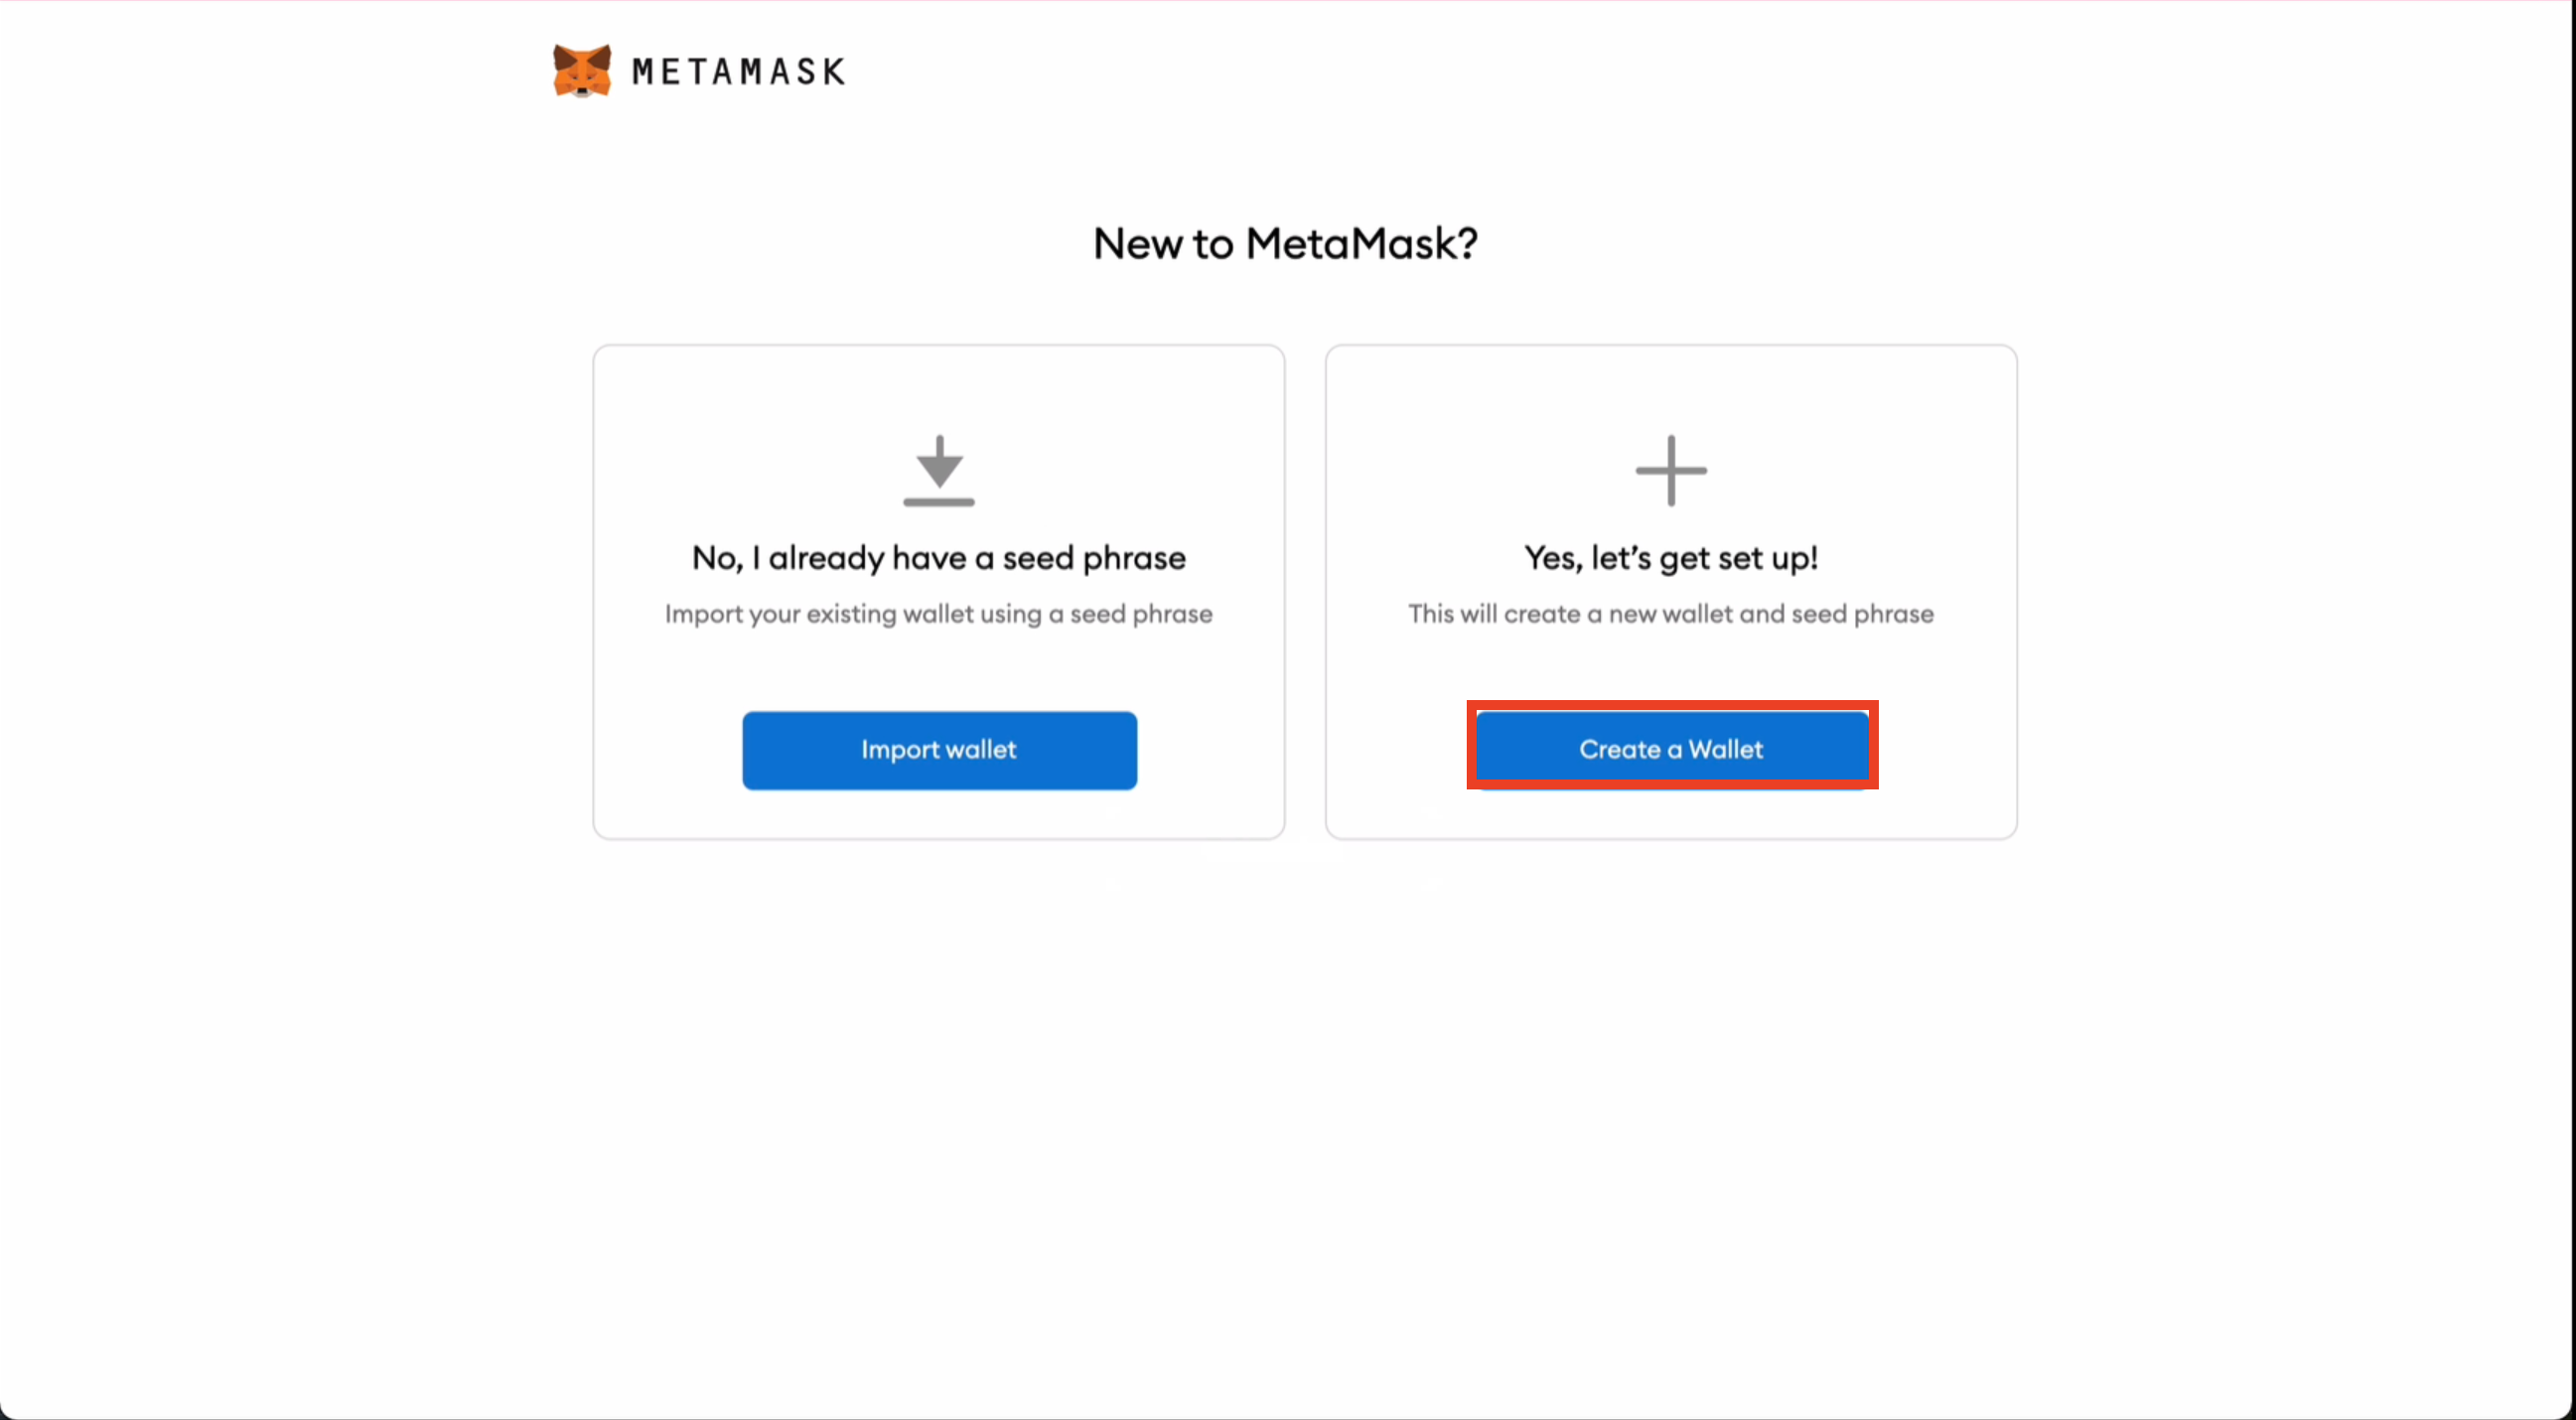
9- Click on Create a Password
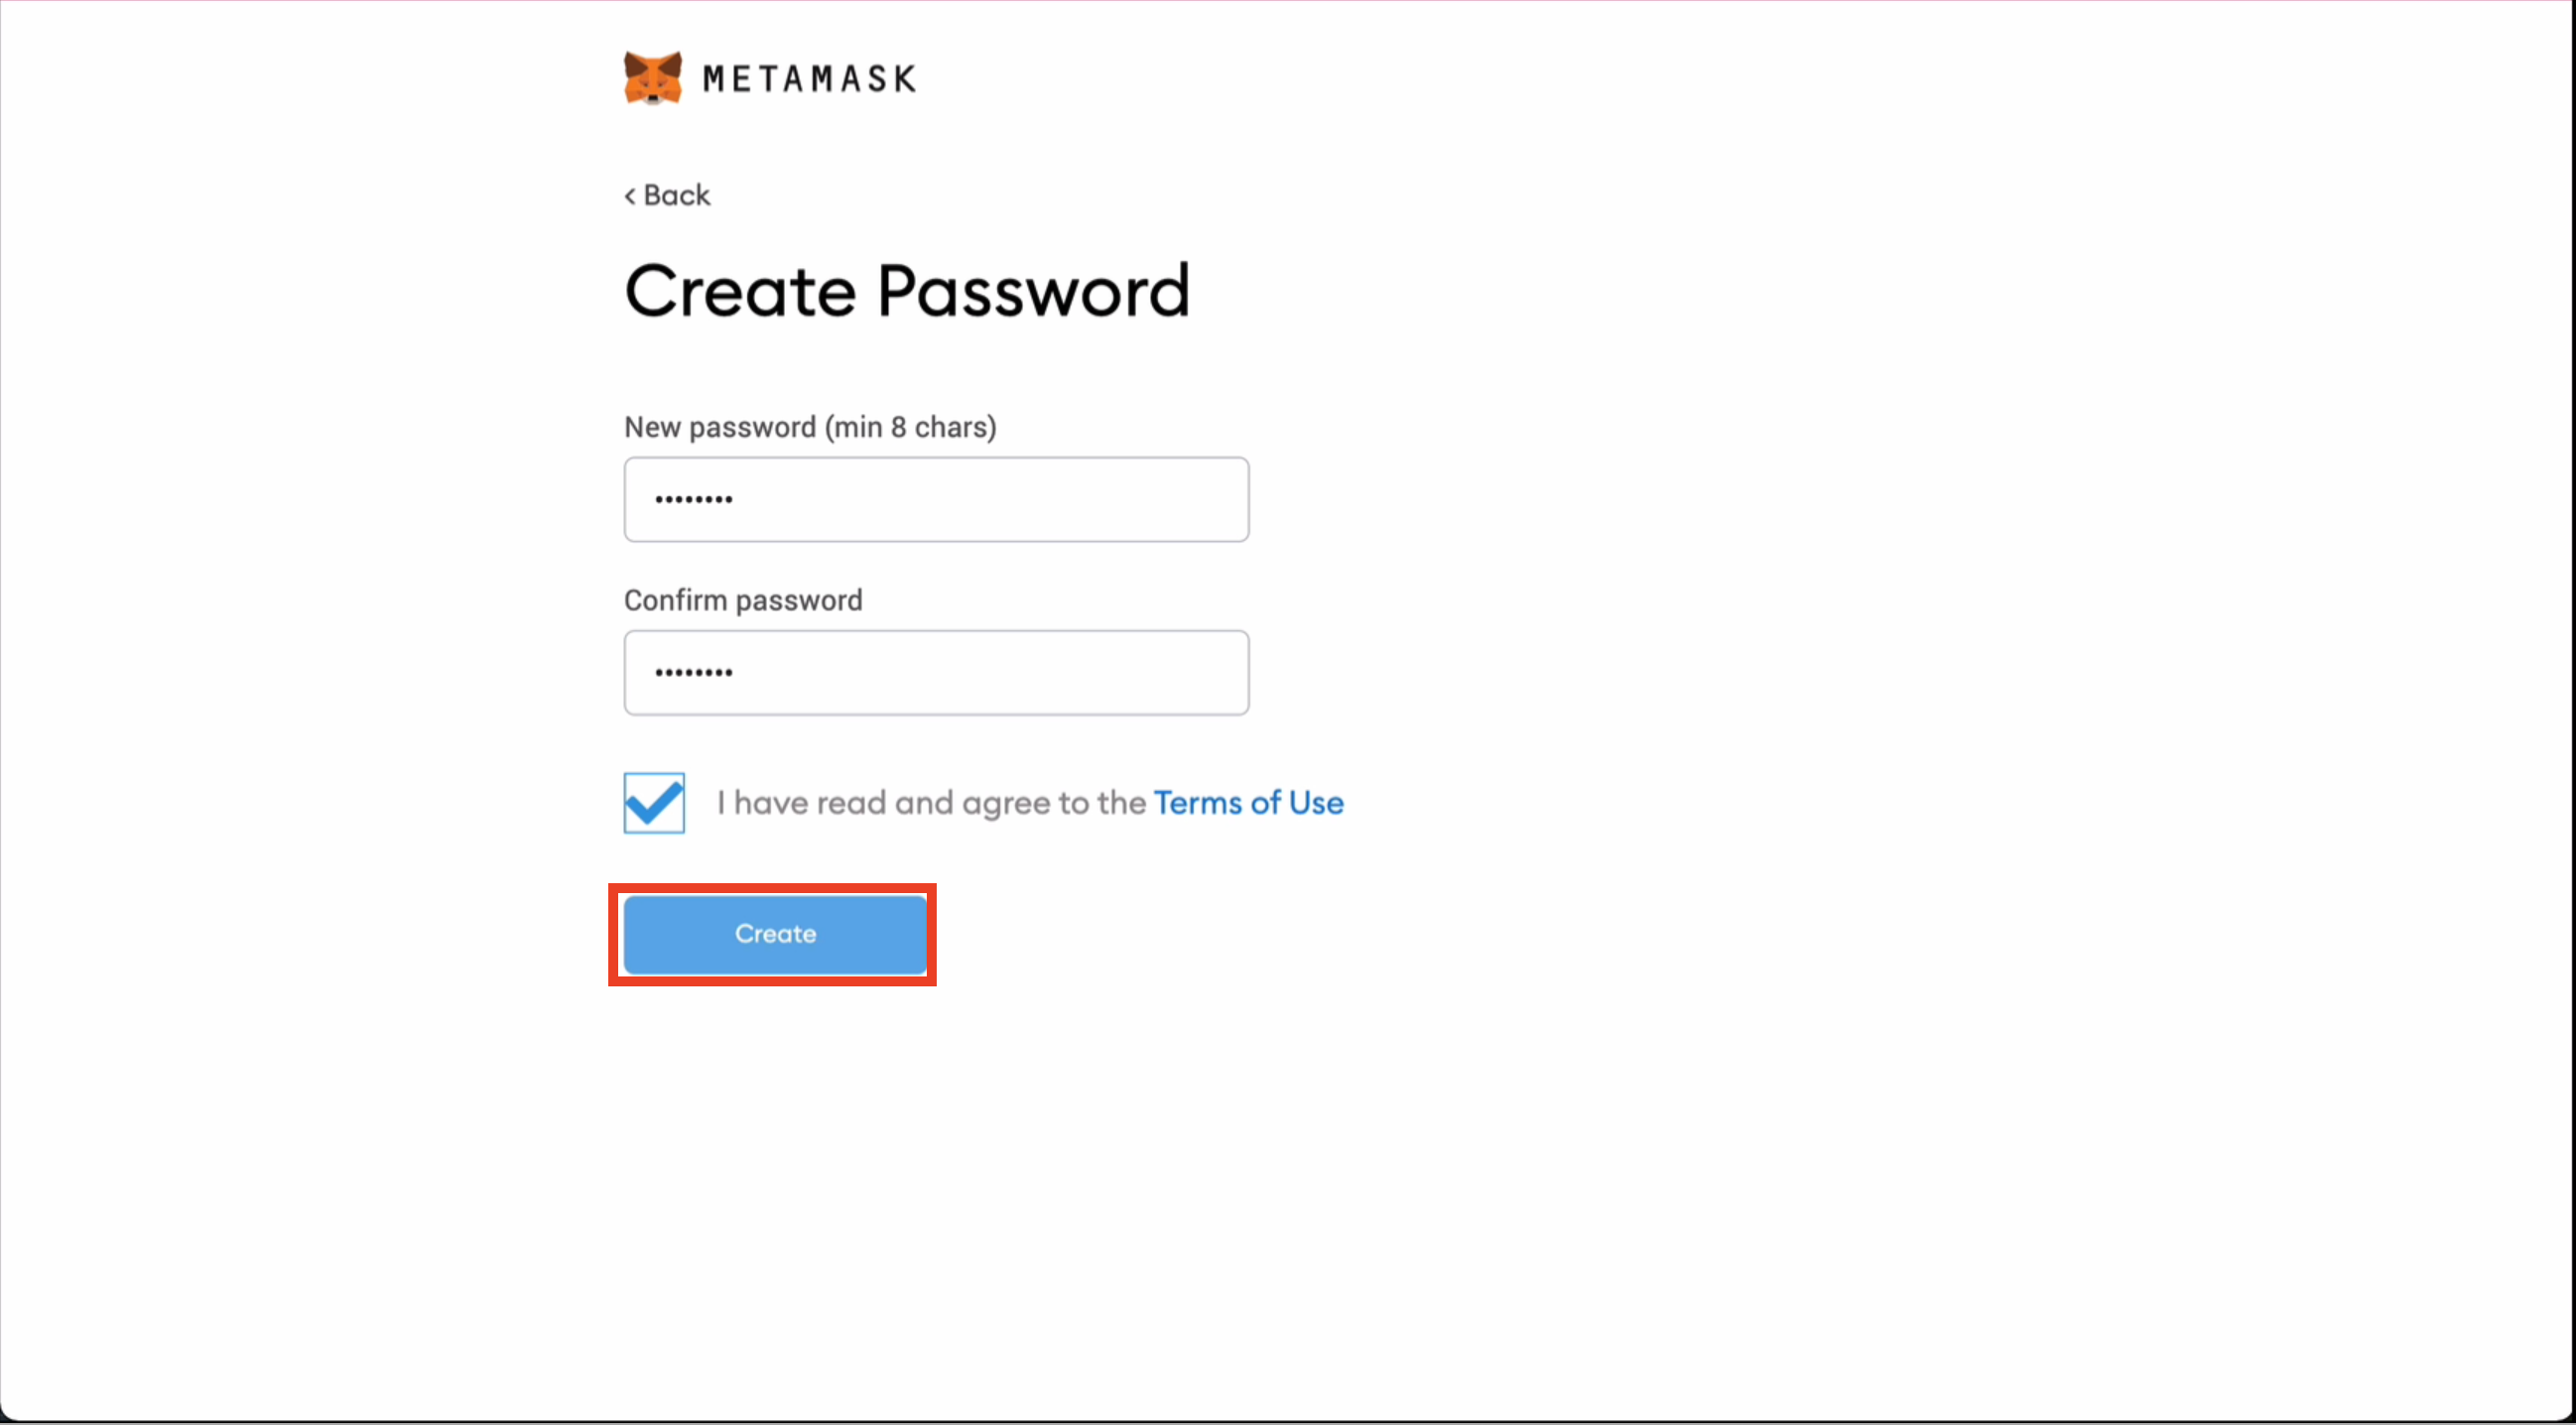
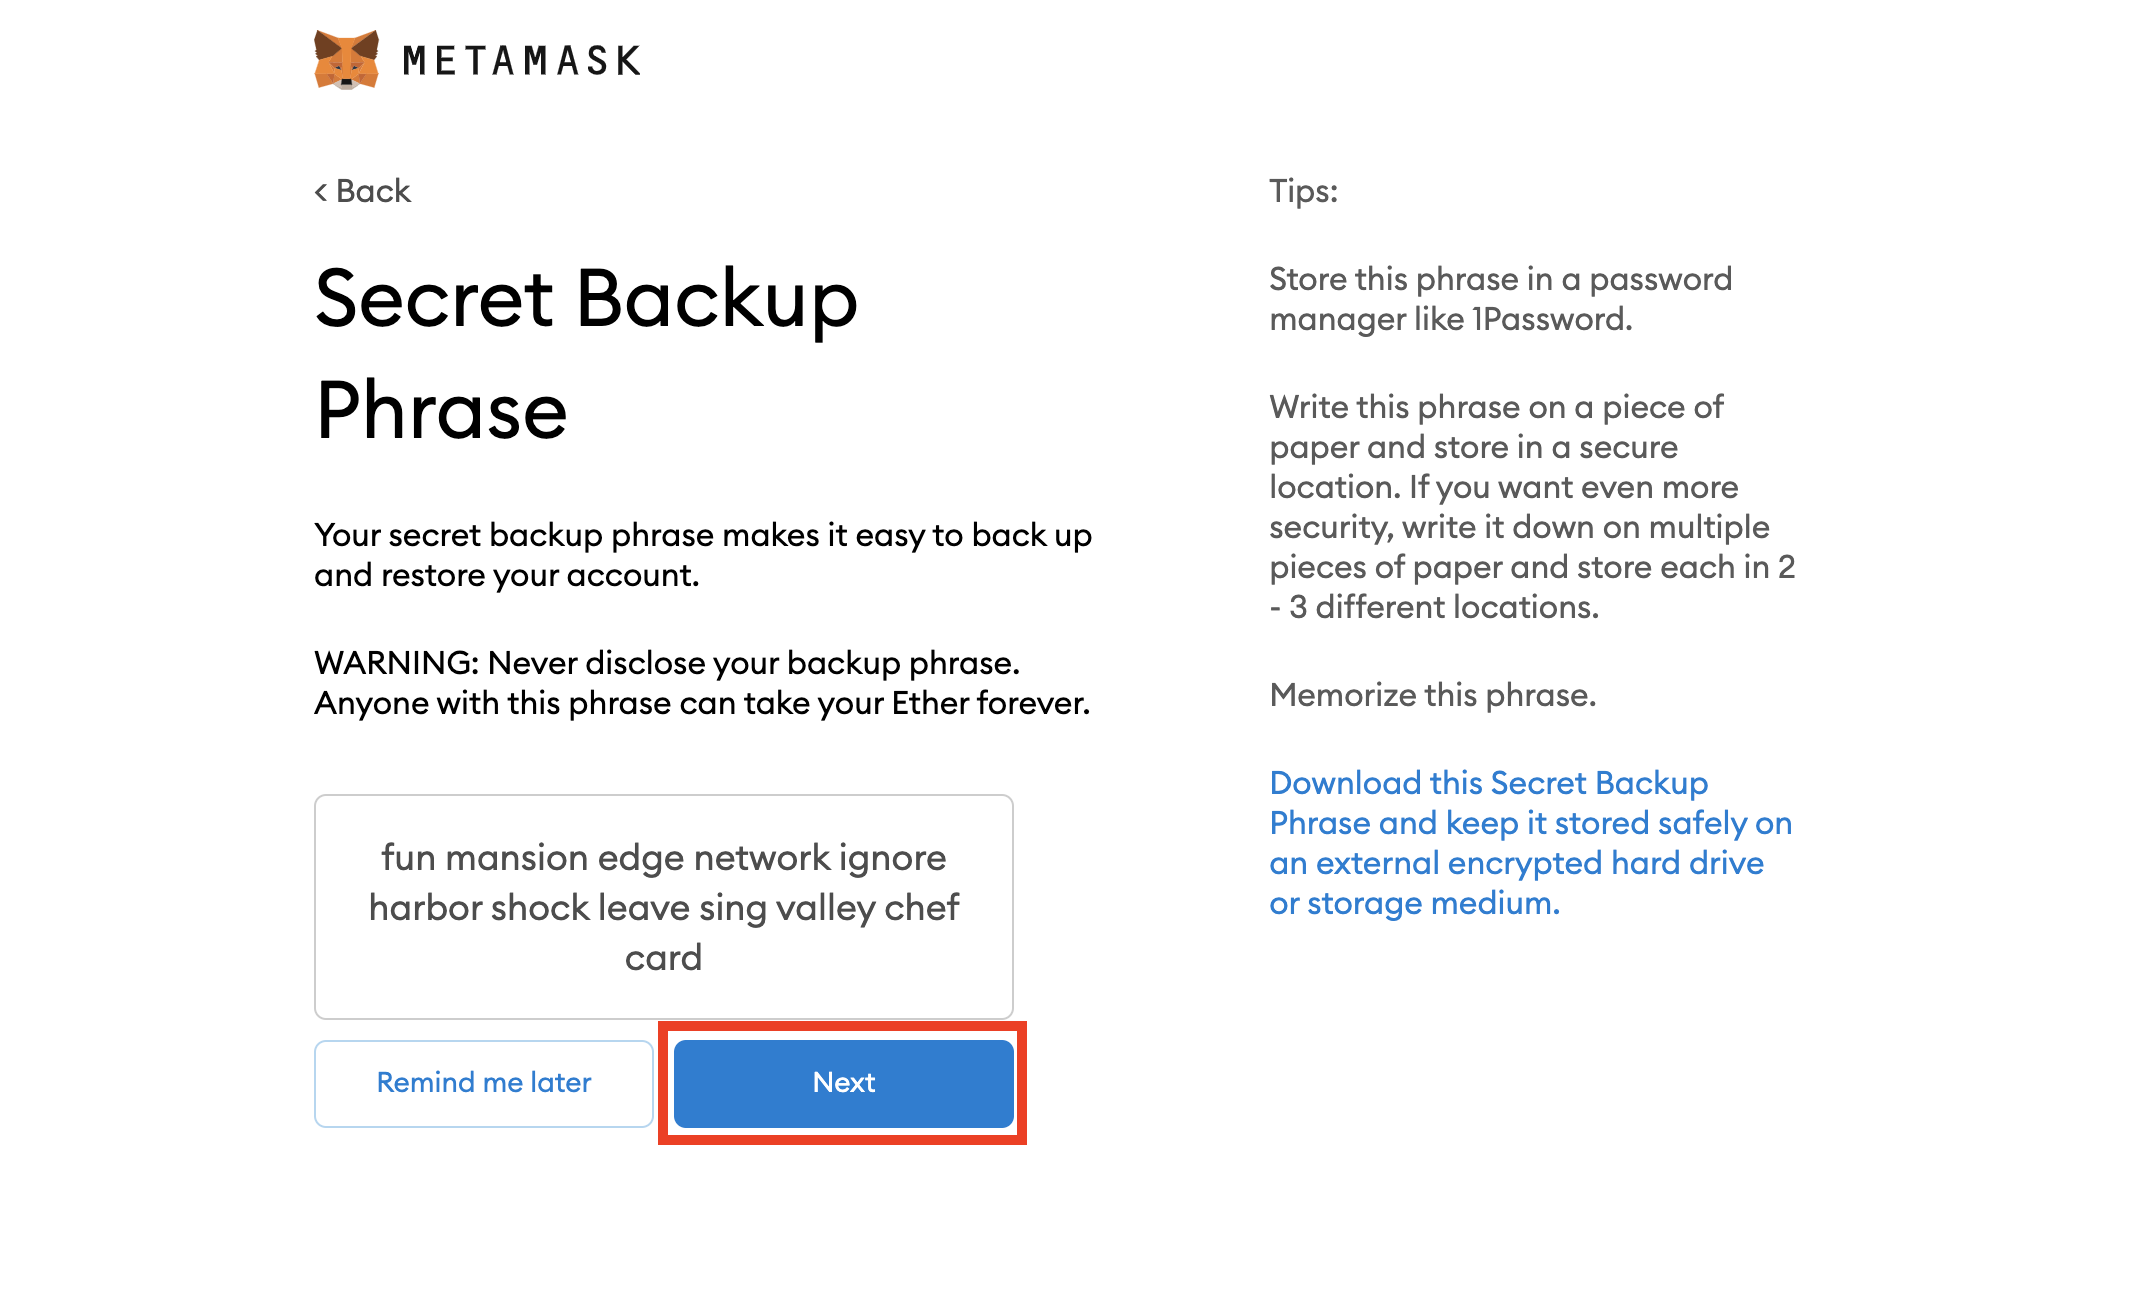
10- Reveal or Download and store backup seed phrase
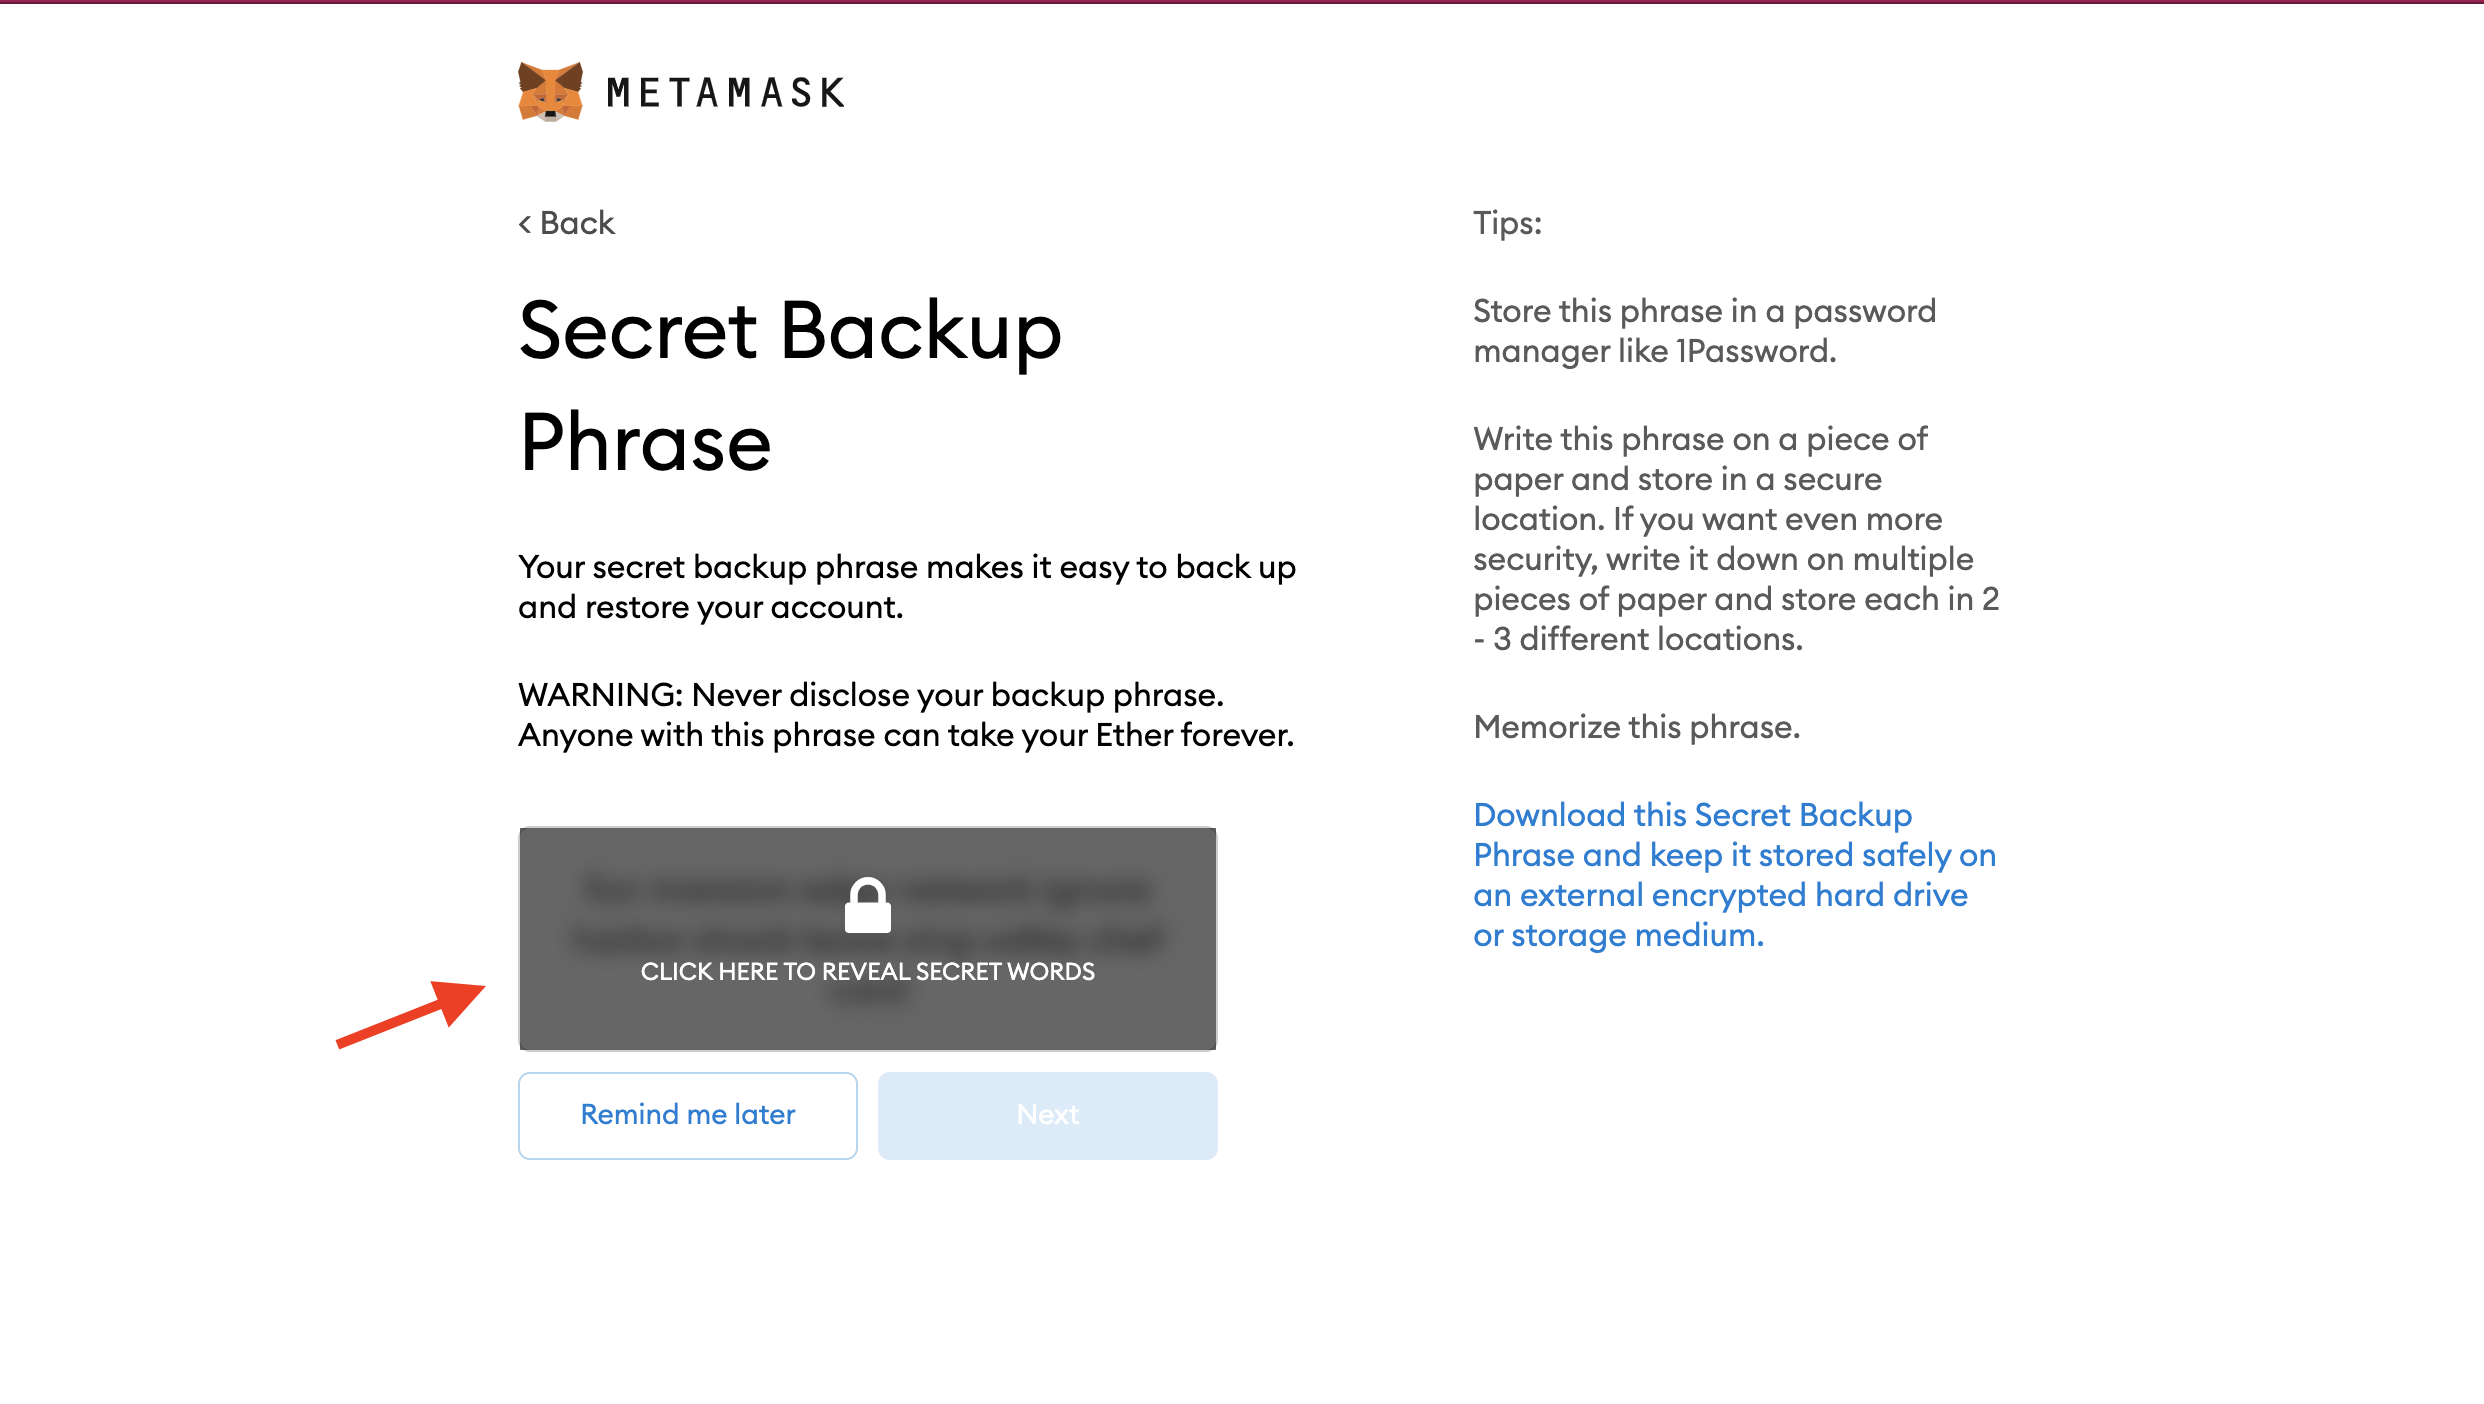
11- View backup phrase
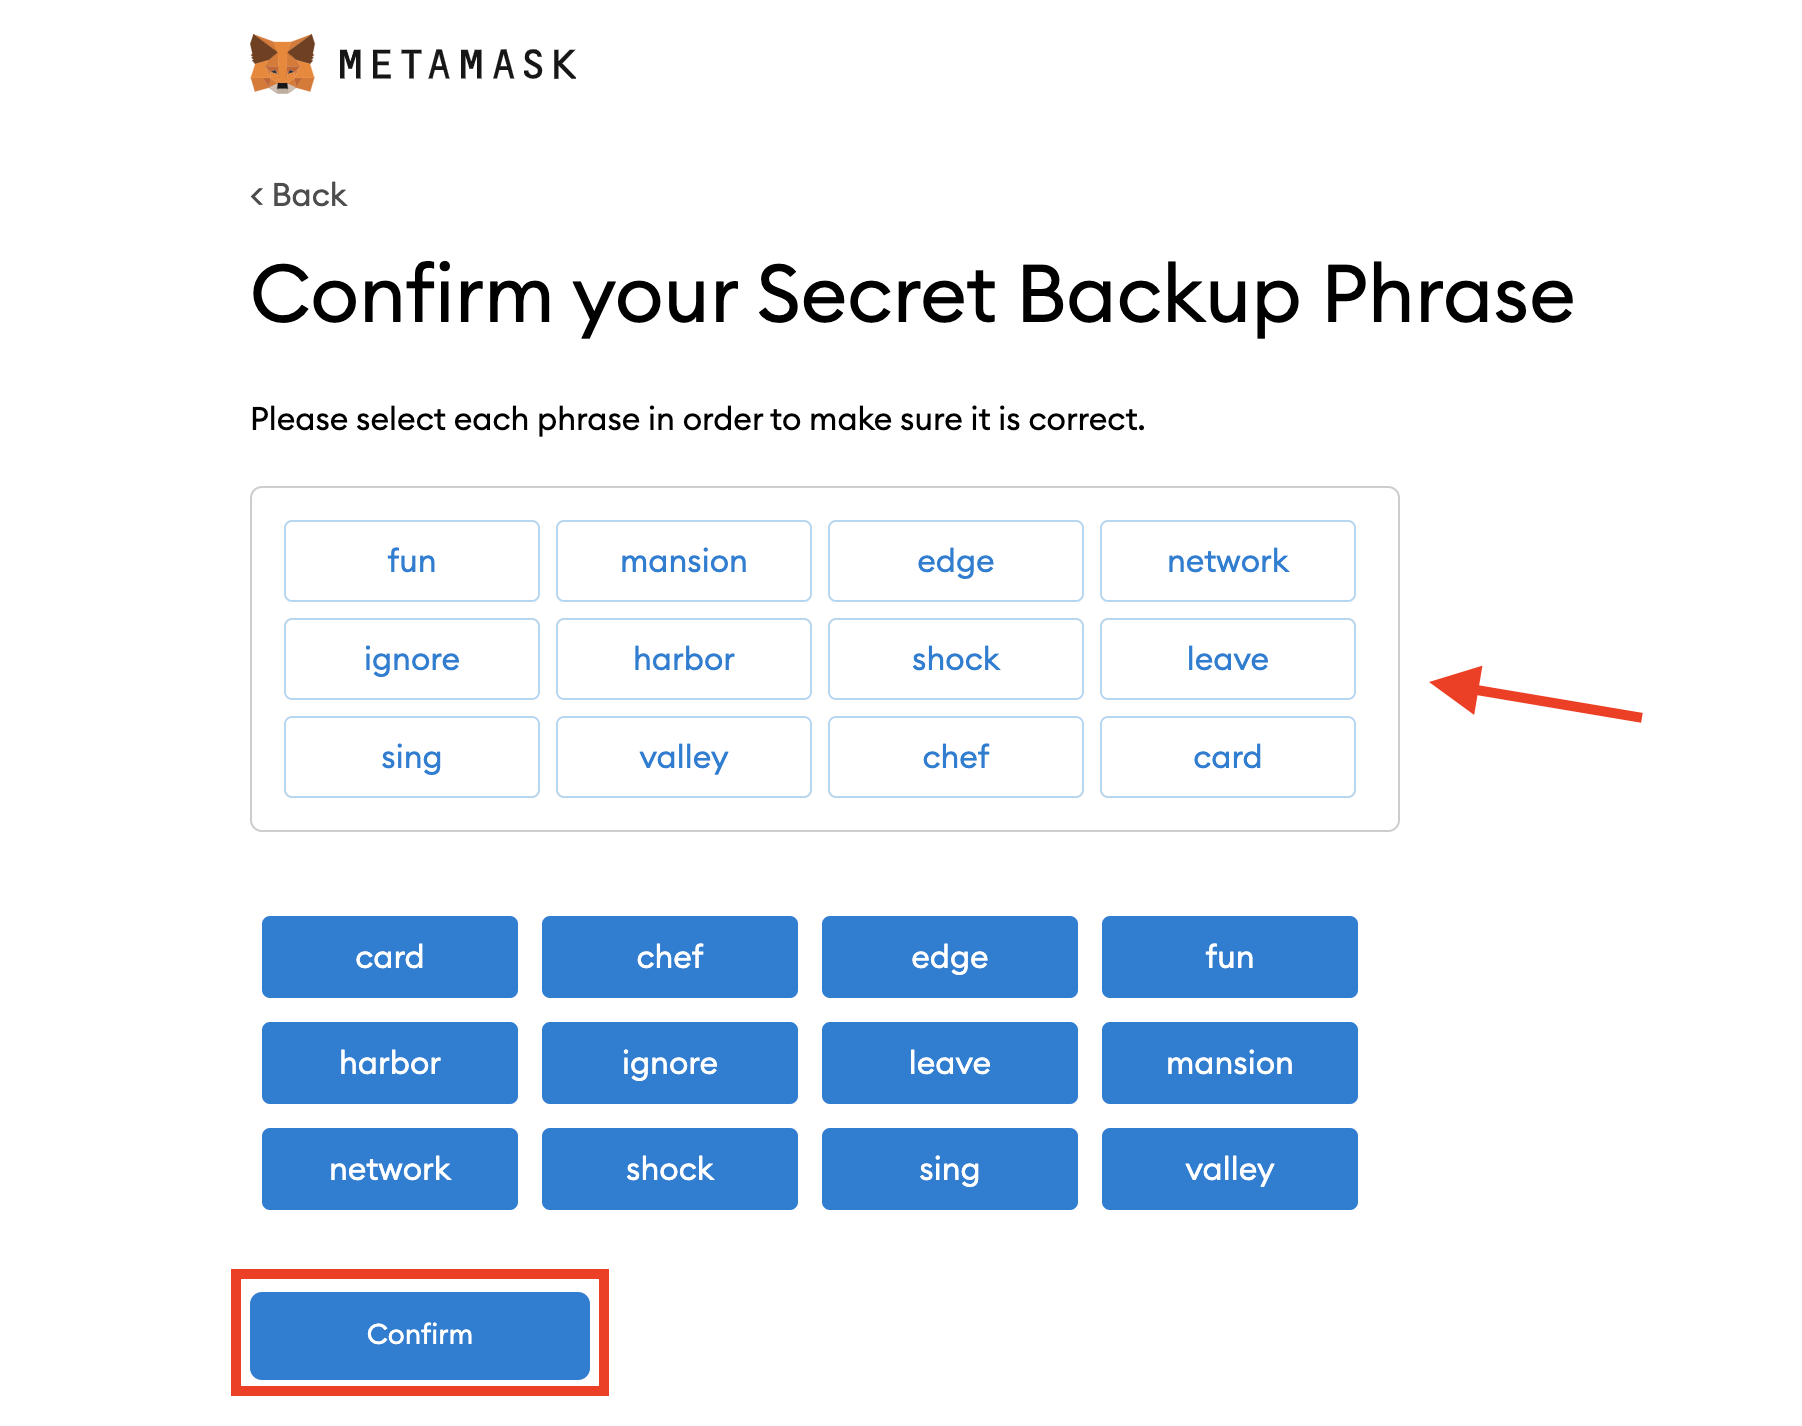
12- Confirm backup seed phrase by clicking the words in the order it was shown previously and click Next
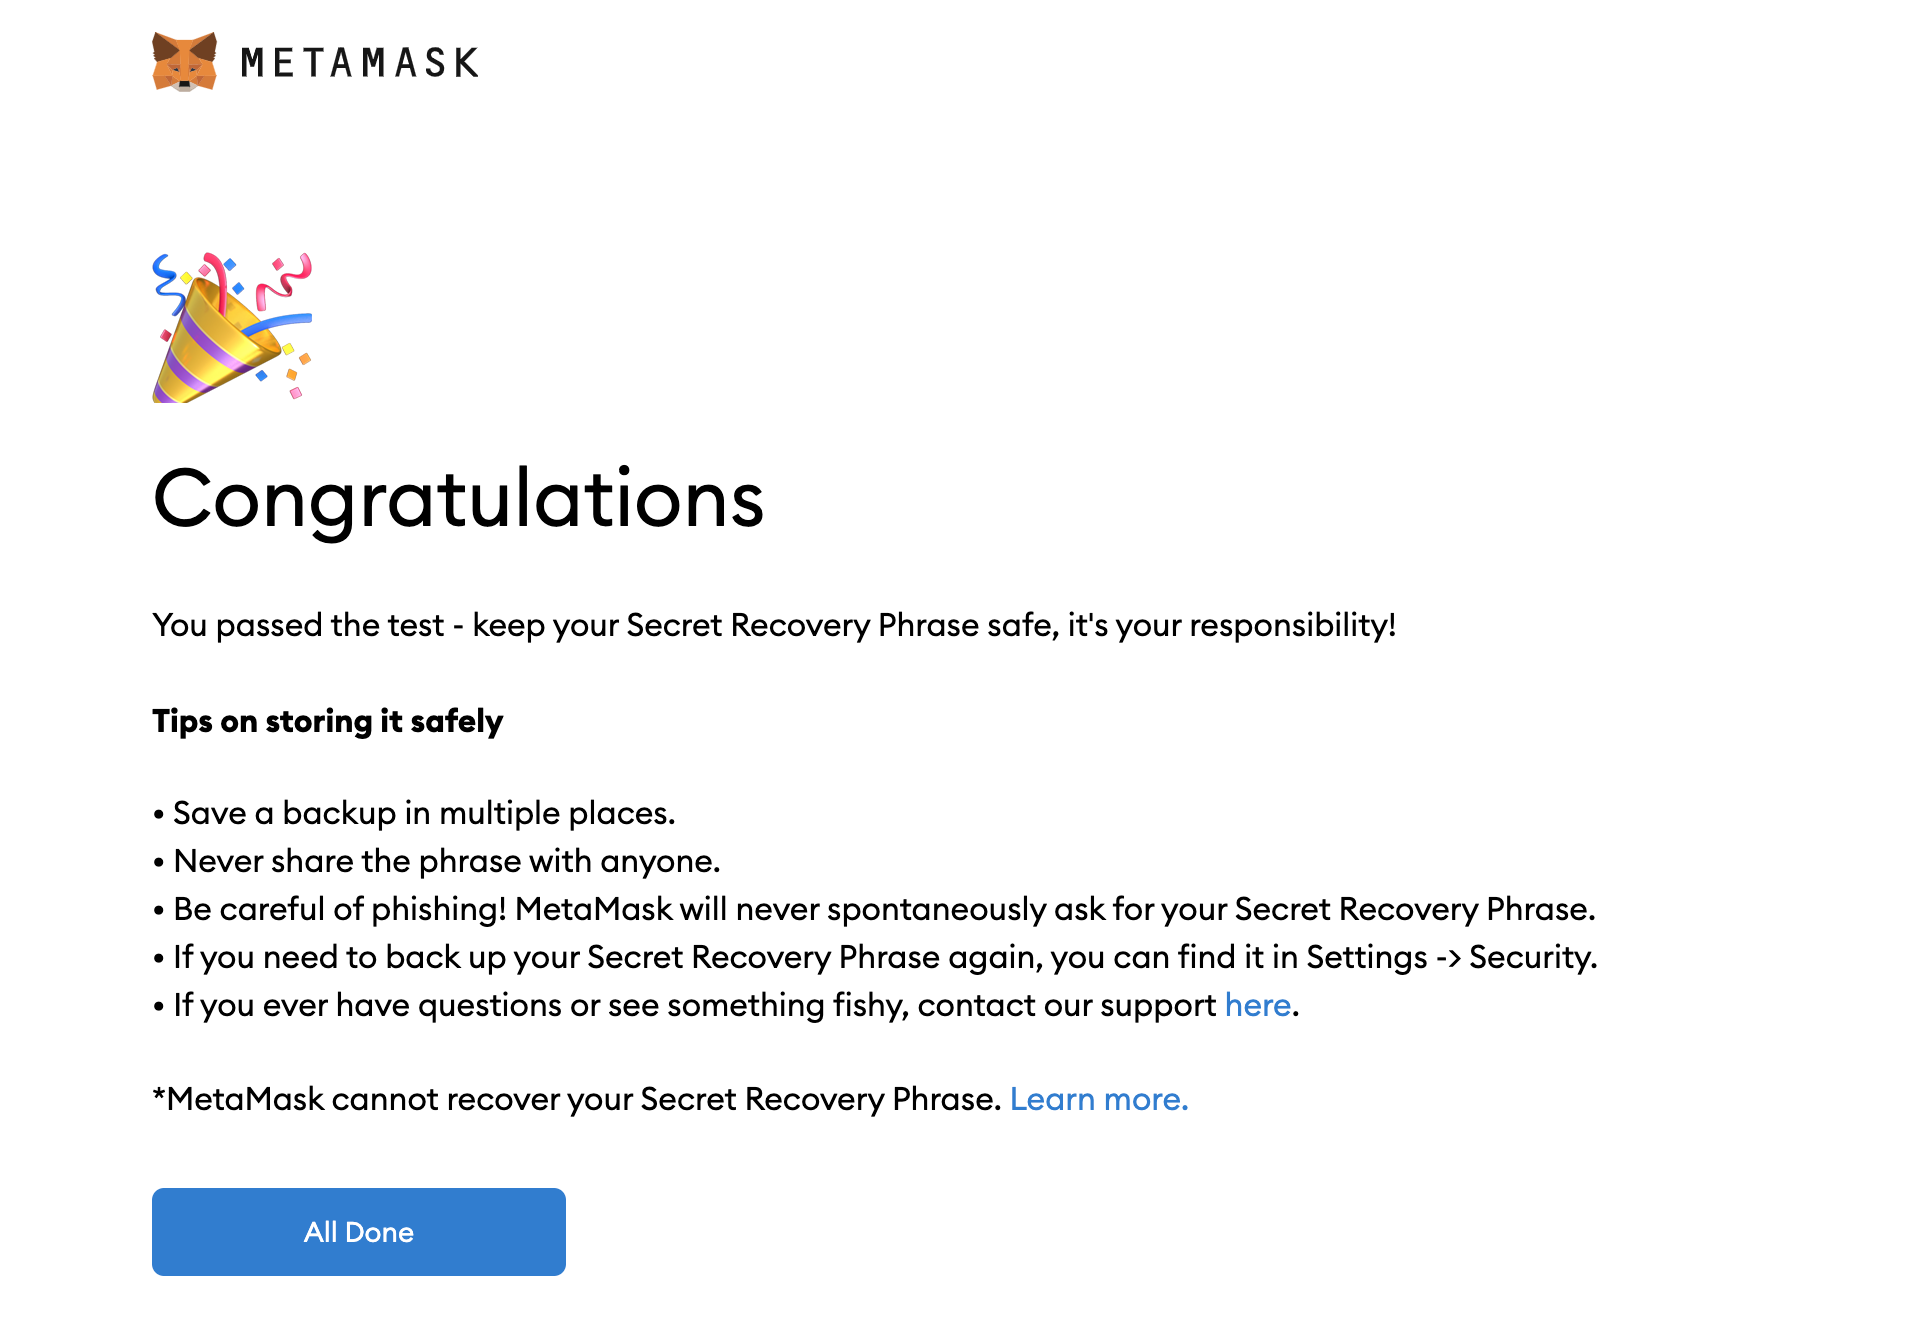
13- Agree to terms and conditions.
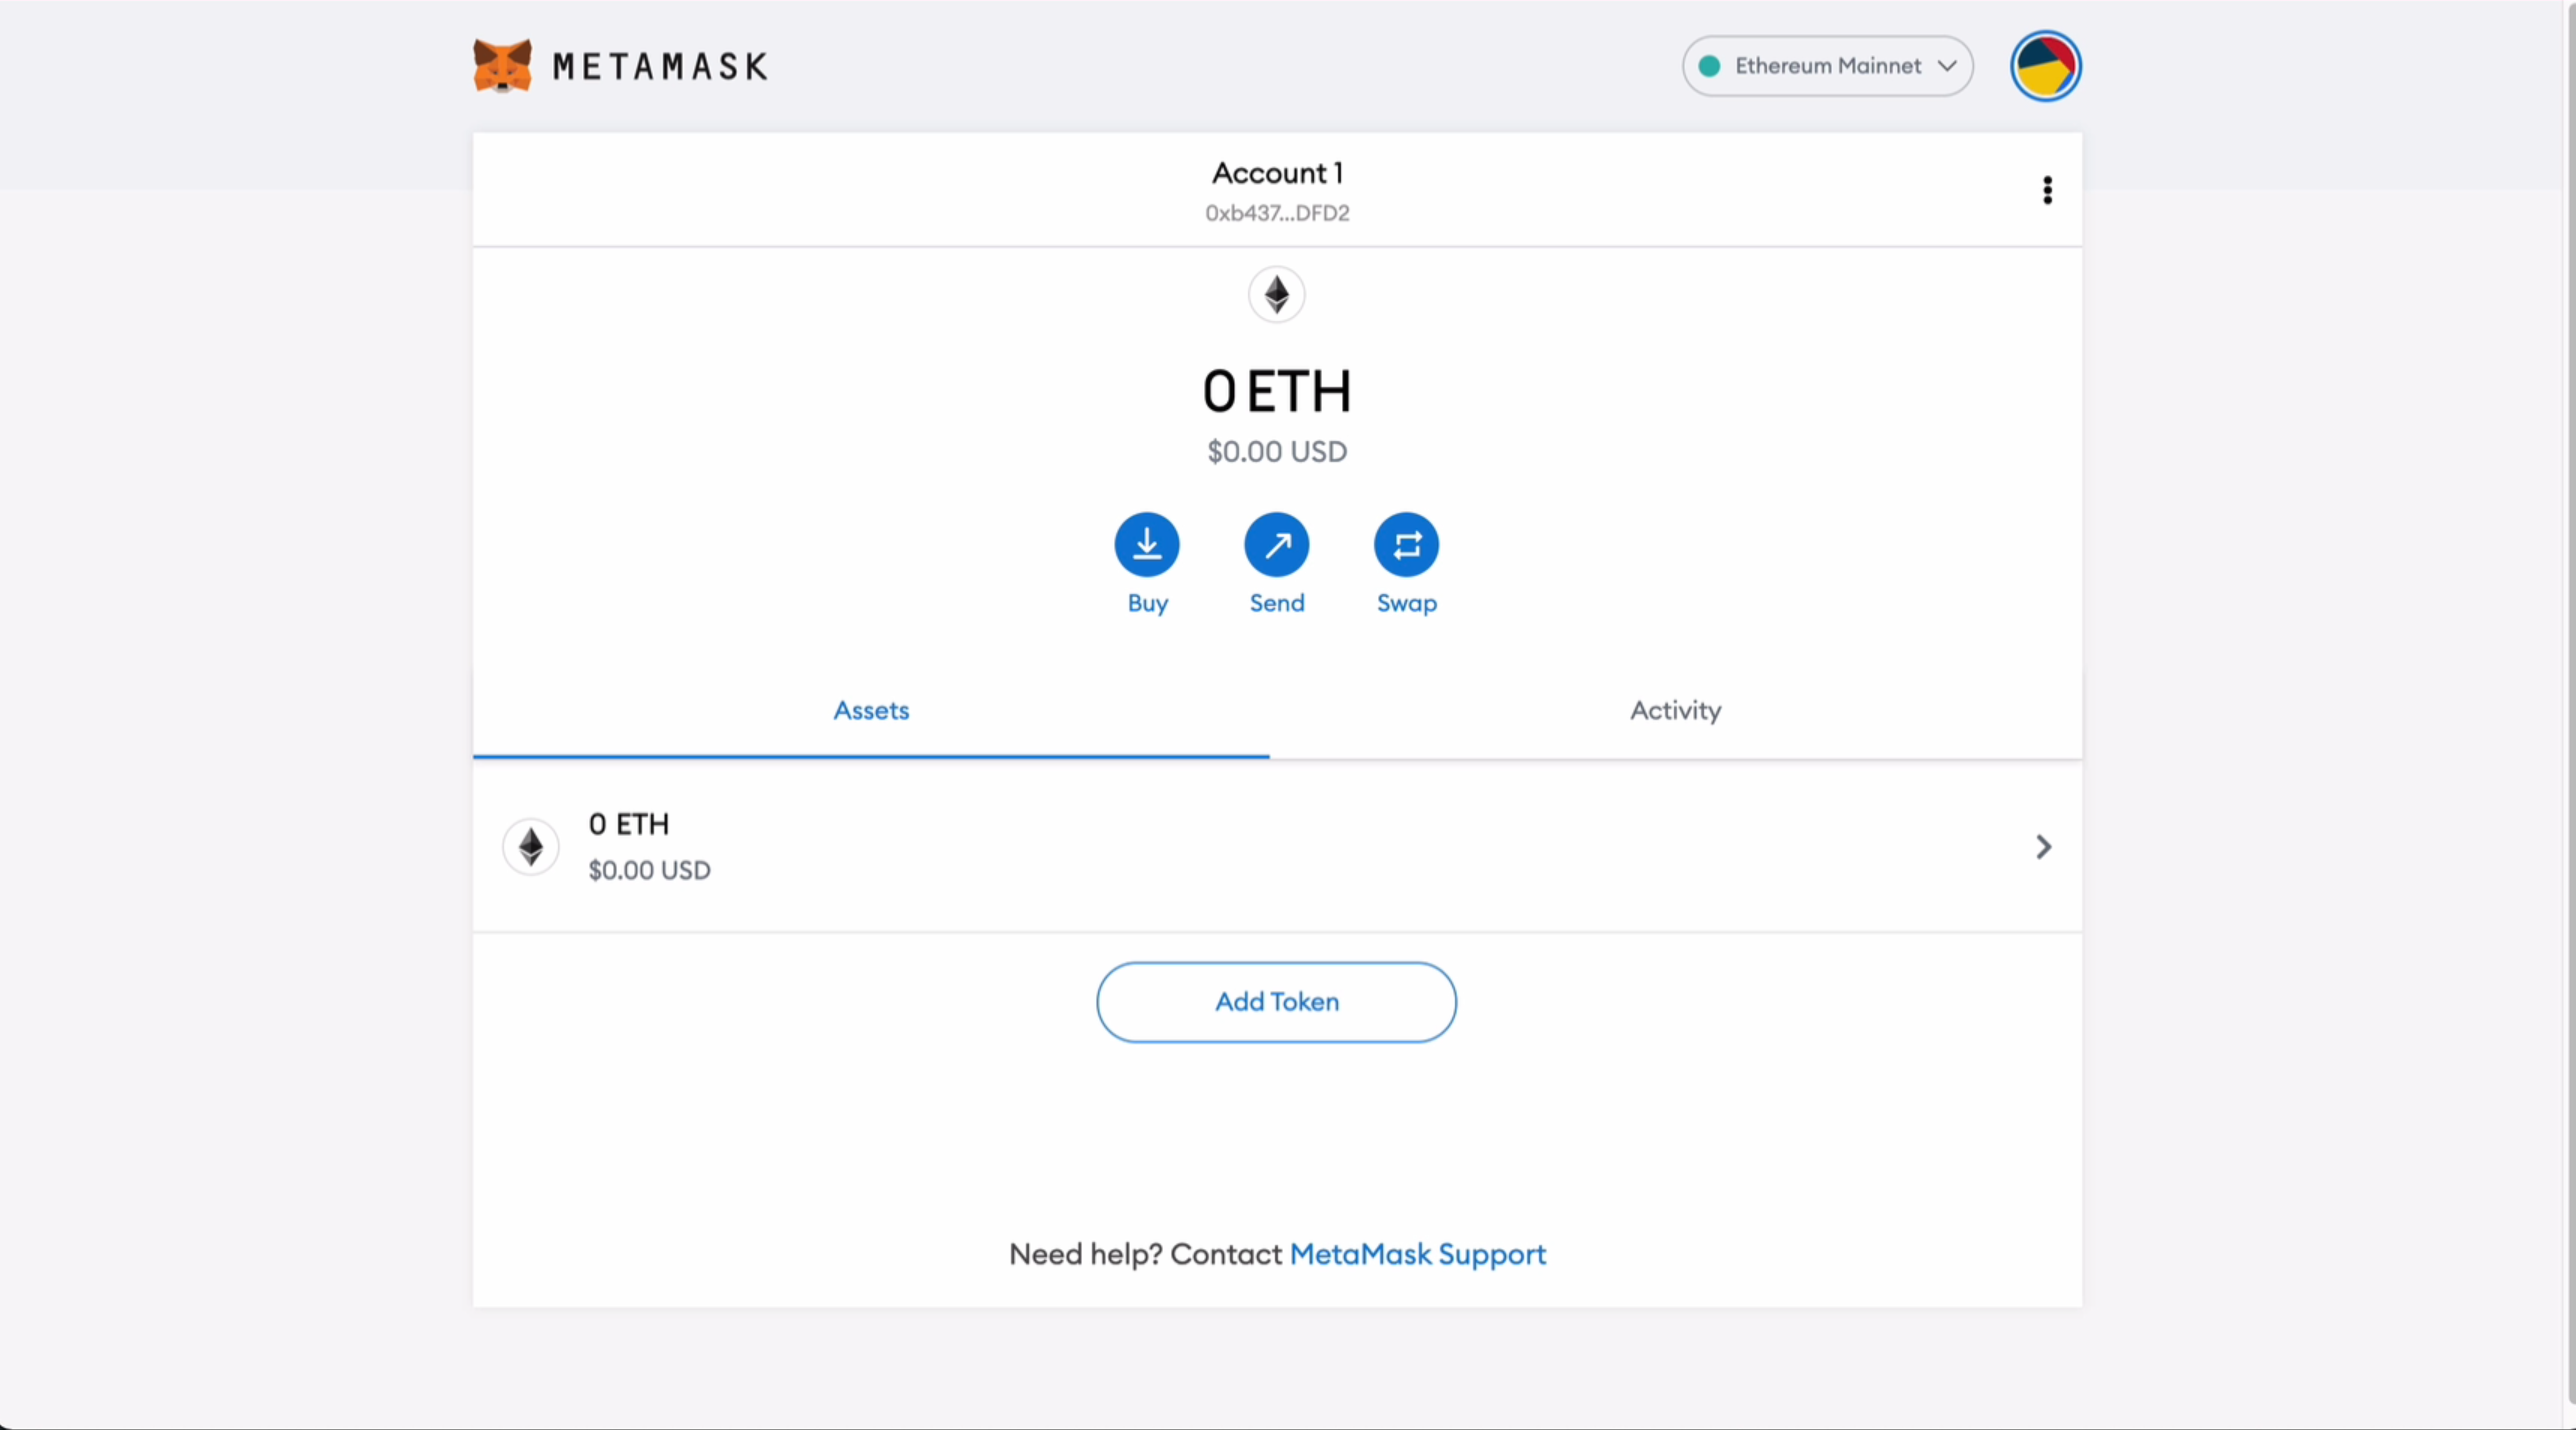
Congratulations, you have successfully setup MetaMask and created your first wallet!
Cryptography in Crypto Wallets
Private Keys and Public Keys
In wallet software, you generally see “accounts” represented by addresses on the blockchain network.
n the case of RSK, this is 0x followed by a series of hexadecimal characters,
for example, 0xdfc0e6361fd1846a223e2d7834a5ebd441a16dd4.
There is some hidden complexity behind that, to do with cryptography,
which is necessary to secure the account, and all the blockchain transactions it makes.
- You start off with a private key, which is essentially an extremely large number, and should be randomly generated. You should keep the private key secret, because that is what is used to sign transactions.
- A public key is generated from the private key, and this is also a very large number. This does not need to be kept secret, because others in the blockchain network use it to verify transactions.
- An address is generated from the public key, and is the hexadecimal string that you see in your wallet software.
Seed Phrases
When you open up MetaMask for the first time after installing it, you will be asked to initialise it using a seed phrase. If you have done this before, you can use your own seed phrase. Otherwise let’s generate a new one!
To generate a new seed phrase, you will need to create a new wallet. See above steps to create a new wallet.
Most blockchain users operate one or more accounts, and it can be quite difficult to remember the value of cryptographic keys - those very large numbers - you’ll need superhuman memory! The seed phrase is presently the most popular method used to generate, store, remember, and recover keys for crypto wallets, and is something that is approachable for the average user.
It also is the default method used by MetaMask (and many other wallets). In a nutshell, it takes a randomly generated sequence of dictionary words. The wallet then uses this sequence of words to generate not one, but multiple sets of cryptographic keys. This is how MetaMask is able to support multiple accounts using a single seed phrase.
This process is described in detail in the BIP-44 technical standard. This ensures that the way that seed phrases work is the same between multiple crypto wallets, enabling the same phrase to be portable.
Configure custom network for RSK Testnet
MetaMask comes pre-configured with connections for Ethereum networks. Let’s use its custom networks feature to add a connection to an RSK network.
After creating the custom network for the RSK Testnet, you should be able to interact with smart contracts deployed on the RSK Testnet! You should also see your balances in tRBTC (Testnet RBTC). This is currently zero, which means that we cannot send any transactions to the blockchain, so let’s get some using the RBTC faucet.
Now you should have a balance of tRBTC, and you will be able to send transactions on the RSK Testnet!
Configure Custom Token for tRIF
The RSK Infrastructure Framework (RIF) includes multiple services for decentralised applications. These services may be paid for using the RIF token. Let’s configure MetaMask to be aware of the RIF token. We’ll use tRIF as the token symbol, since we’re on the RSK Testnet.
Now that MetaMask has the RIF token configured, let’s get some test tokens using the RIF faucet.
Now you should have a balance of tRIF, and you will be able to use RIF services on the RSK Testnet!
There is some hidden complexity that we have glossed over in order for you to get up and running as quickly as possible. If you would like to delve deeper, here are some resources that we recommend.
Further Reading:
- How to configure Metamask
- Account based addresses on RSK - includes information about derivation paths and checksums
- About the RIF token
- About the RBTC cryptocurrency
- About gas
- About RIF Services
- About BIP-44
- About EIP-20
- Asymmetric Key Generation